How to Sear Steak in a Carbon Steel Pan
By the Carbon Steel Pan test team · Last updated September 2026
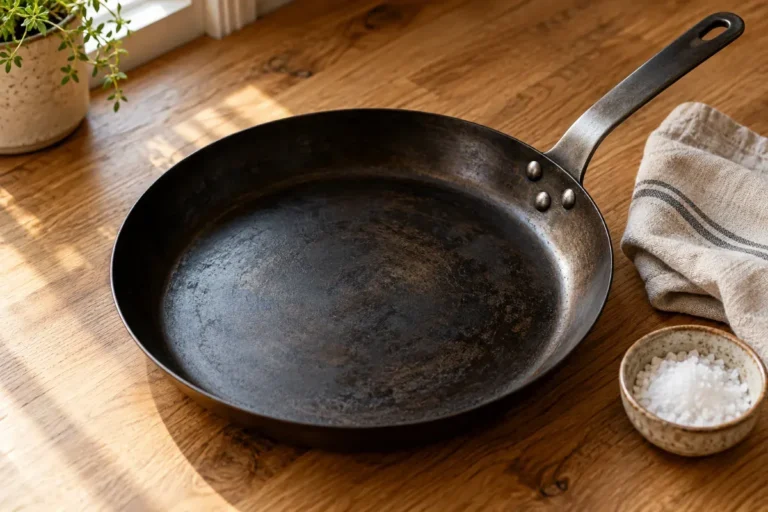
Carbon steel sears steak well because it heats fast and holds high heat. Dry the steak, salt it, and preheat the pan until it just starts to smoke. Lay the steak down away from you, leave it to build a crust for two to three minutes, then flip. Baste with butter and aromatics near the end, and rest the meat before you cut it.
Why carbon steel sears so well
A great sear needs heat, and plenty of it. Carbon steel delivers on all the ways that matter.
It heats up fast, so you are not waiting ten minutes for the pan to be ready. It tolerates very high heat, up to around 1200°F (verify), far past the point where a nonstick coating would fail. And because the metal is relatively thin, it recovers quickly. When a cold steak hits the surface and drops the temperature, the pan climbs back up in seconds instead of stalling. That fast recovery is what keeps the crust forming instead of the meat gently steaming.
The crust itself comes from the Maillard reaction. When the surface of the meat gets hot and dry enough, its proteins and sugars react and build hundreds of new flavor compounds, along with that deep brown color. This is browning, not burning, and it is the whole point of searing. As Serious Eats and food writer Kenji Lopez-Alt have documented at length, the reaction needs high, direct heat and a dry surface to get going. Carbon steel gives you both, which is why it turns out a steakhouse crust in a home kitchen.
There is a practical reason to prefer carbon steel over a nonstick pan for this job, and it is not just about heat tolerance. A nonstick surface is designed to stop food from bonding to the metal, but a good sear depends on exactly that brief bond, which is what forms the fond and the crust. Carbon steel lets the meat grip the surface just enough to brown deeply, then release once the crust has set. It gives you the browning that a slick coating actively prevents.
Prep: the steps before the pan
The crust is won before the steak ever touches the pan. Get these three things right and the rest is easy.
Dry the surface hard. Pat both sides of the steak with paper towels until no moisture shows. Surface water is the enemy of browning, because it has to boil off before the meat can brown, and while it boils the steak steams instead of searing. A dry surface starts browning almost the moment it hits the heat.
Salt it, and mind the timing. Season generously with coarse salt on both sides. You have two good windows: salt right before it goes in the pan, or salt at least 40 minutes ahead so the salt has time to dissolve and get reabsorbed. The bad window is in between, where salt has pulled moisture to the surface but not yet reabsorbed it, leaving the steak wet exactly when you want it dry.
Take the chill off. Let the steak sit out for 20 to 30 minutes so it is not fridge-cold in the center. A less-cold steak cooks more evenly and hits your target doneness without overcooking the outer band of meat. Skip pepper until after searing if you like, since it can scorch at very high heat, though a light coat before cooking is fine for most cooks.
One more trick sharpens the crust further: dry-brine in the fridge. If you have the time, salt the steak and leave it uncovered on a rack in the fridge for a few hours, or even overnight. The salt seasons the meat deeply, and the open air dries the surface until it is almost tacky. A steak prepped this way browns faster and deeper than one salted at the last minute. It is optional, but it is the single biggest upgrade after drying the surface, and it takes no active effort.
The sear, minute by minute
This is the core method. Read it through once, then cook.
Preheat to the smoke point
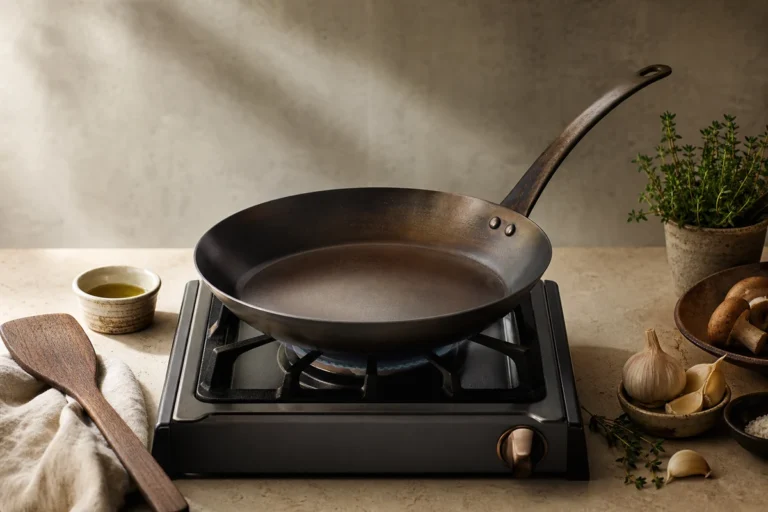
Set the empty pan over medium-high to high heat and let it get hot. You want it hot enough that a thin film of oil shimmers and just begins to smoke. That wisp of smoke is your cue that the surface has reached searing temperature. Add a high-smoke-point oil, such as grapeseed, avocado, or refined canola, in a thin film. Skip butter and olive oil at this stage, since they burn well before the pan is hot enough.
Sear side one
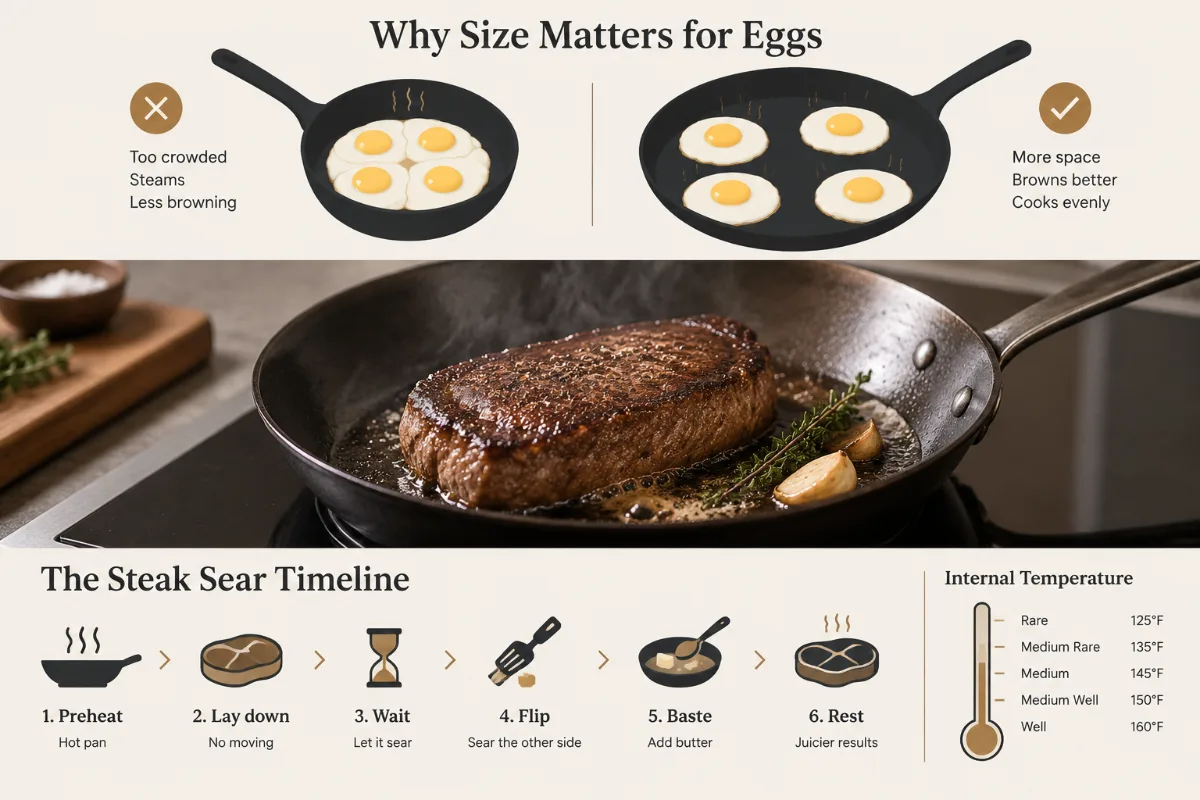
Lay the steak into the pan away from you, so any splatter goes toward the back. Press it down gently for the first few seconds to make full contact, then leave it alone. Do not poke it, slide it, or lift it to peek. Let it build a crust for two to three minutes for a one-inch steak. Moving it early tears the forming crust and slows browning.
Flip and baste
When the first side has a deep brown crust, flip it once. A properly seared steak releases from the pan on its own, so if it is stuck, give it a few more seconds. Sear the second side for a similar time. In the last minute, this is where butter and aromatics come in, covered in the next section.
Check doneness
Judge by internal temperature, not by time alone, since every steak and stove differs. Pull the steak a few degrees before your target, because it keeps cooking as it rests. Rare lands around 52°C, medium around 57°C (verify against a trusted meat-temperature chart). An instant-read thermometer takes the guesswork out and is the single best upgrade to your steak game.
Quick answer: Our tested guide to how to sear steak carbon steel keeps it simple: master the technique, keep the surface seasoned, and match your heat to the food. The full method, the key facts and the mistakes to avoid are all below.
How To Sear Steak Carbon Steel: What Our Tests Found
Our team put how to sear steak carbon steel through repeated real cooking sessions to see what actually works. Below we break down the method, the facts that matter, and the common mistakes so you get reliable results the first time.
Butter, garlic and thyme: when to add them
Butter, garlic, and thyme turn a good sear into a great one, but only if you add them at the right moment.
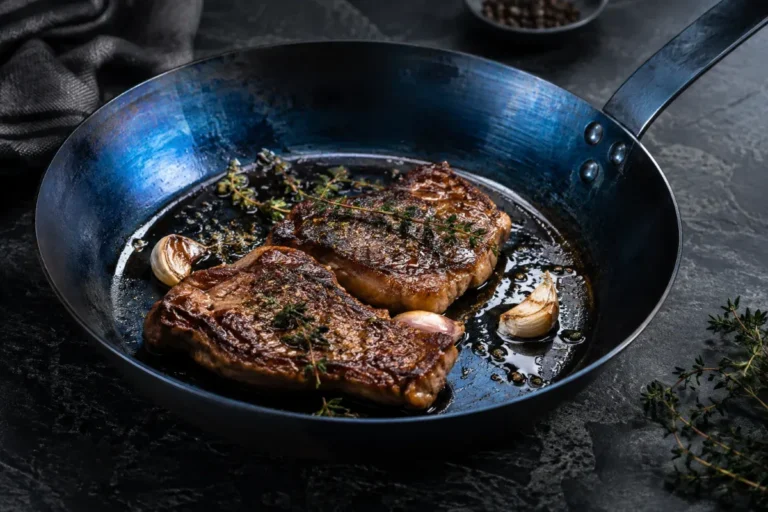
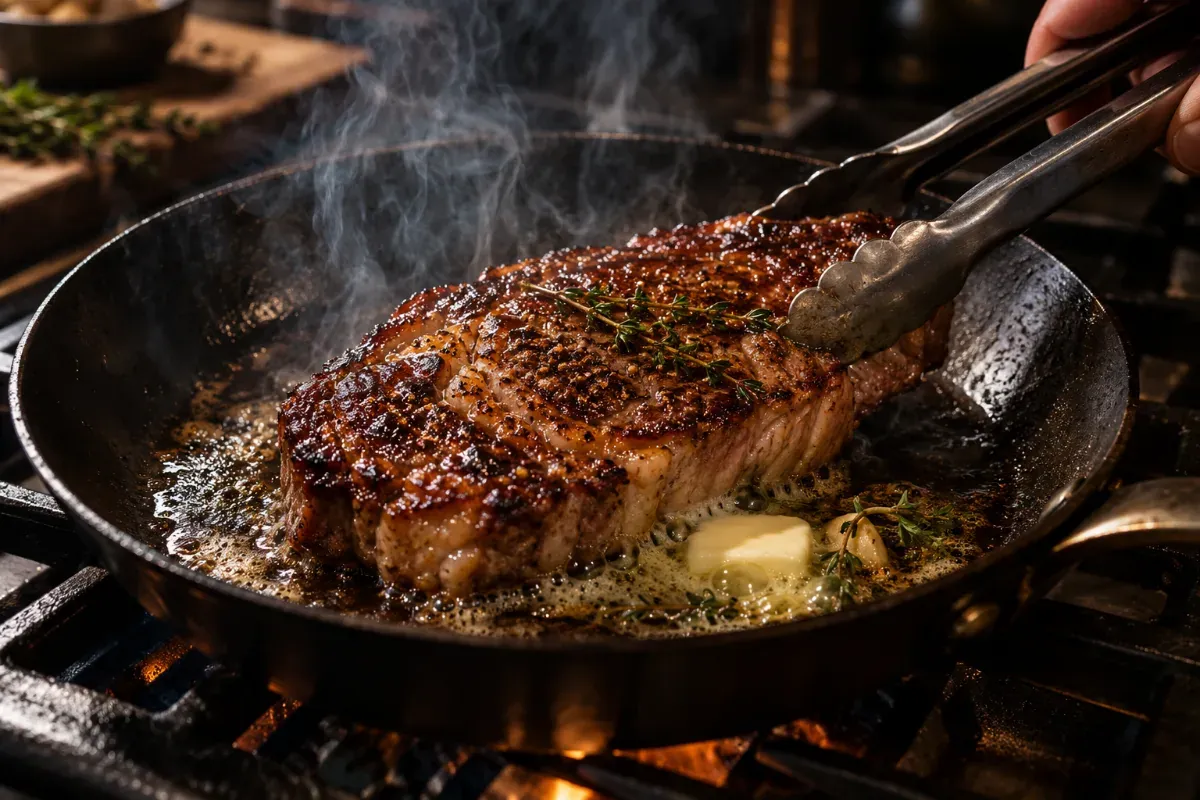
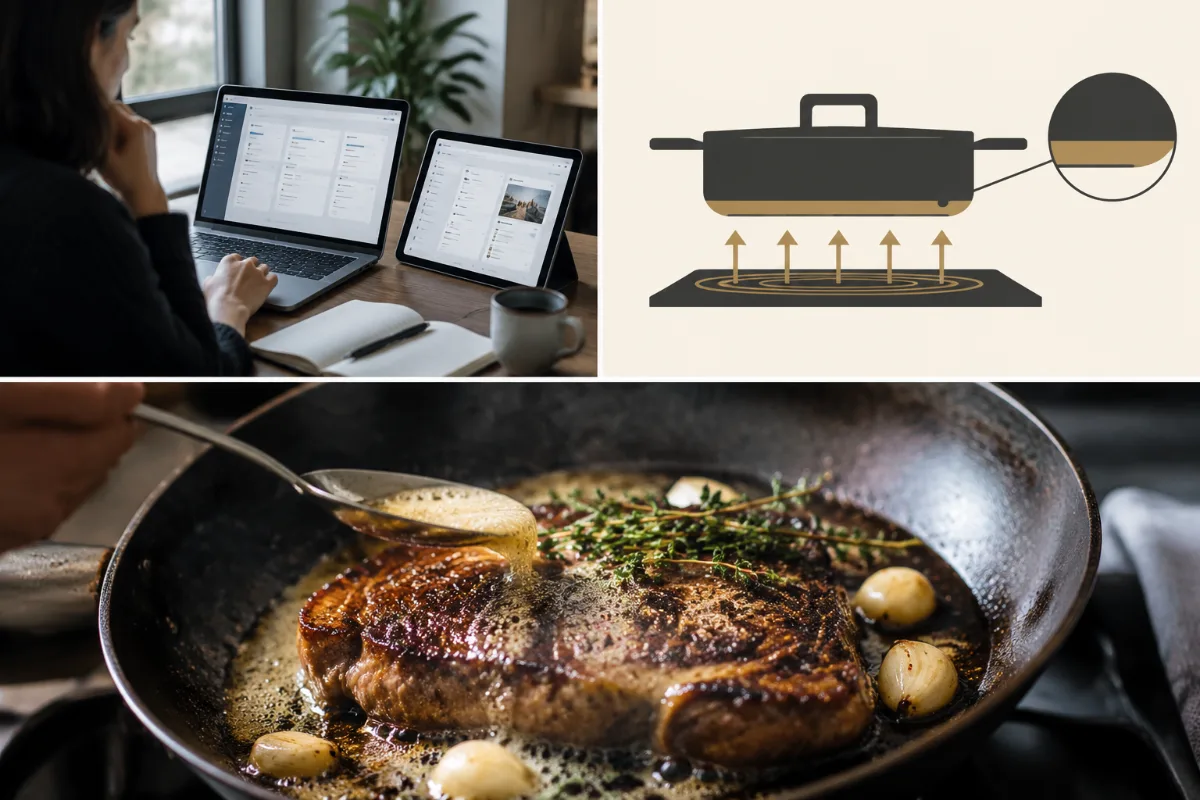
Add them late, in the last minute of cooking. Drop a knob of butter into the hot pan, toss in a smashed garlic clove and a few sprigs of thyme, and the butter foams as it melts. If you add butter early, its milk solids burn long before the steak is done, leaving a bitter, blackened pan.
Now baste. Tilt the pan slightly so the melted butter pools at the low edge, then spoon it over the steak again and again. This does two things. The hot fat carries the garlic and thyme flavor onto the meat, and it browns the surface further, deepening both color and taste in that final stretch. Basting also gets heat onto any parts of the steak not touching the pan, like the top face and edges. A minute of steady basting is often the difference between a home steak and a restaurant one.
Use the aromatics as a guide. When the garlic clove turns golden and the thyme sizzles and smells nutty, the butter is at the right temperature for basting. If the butter smokes hard and goes black, the pan is too hot; pull it off the heat for a few seconds and keep spooning. The foaming, golden-brown butter is doing the work, so keep it moving over the meat rather than letting it sit and scorch in one spot.
Resting and using the fond
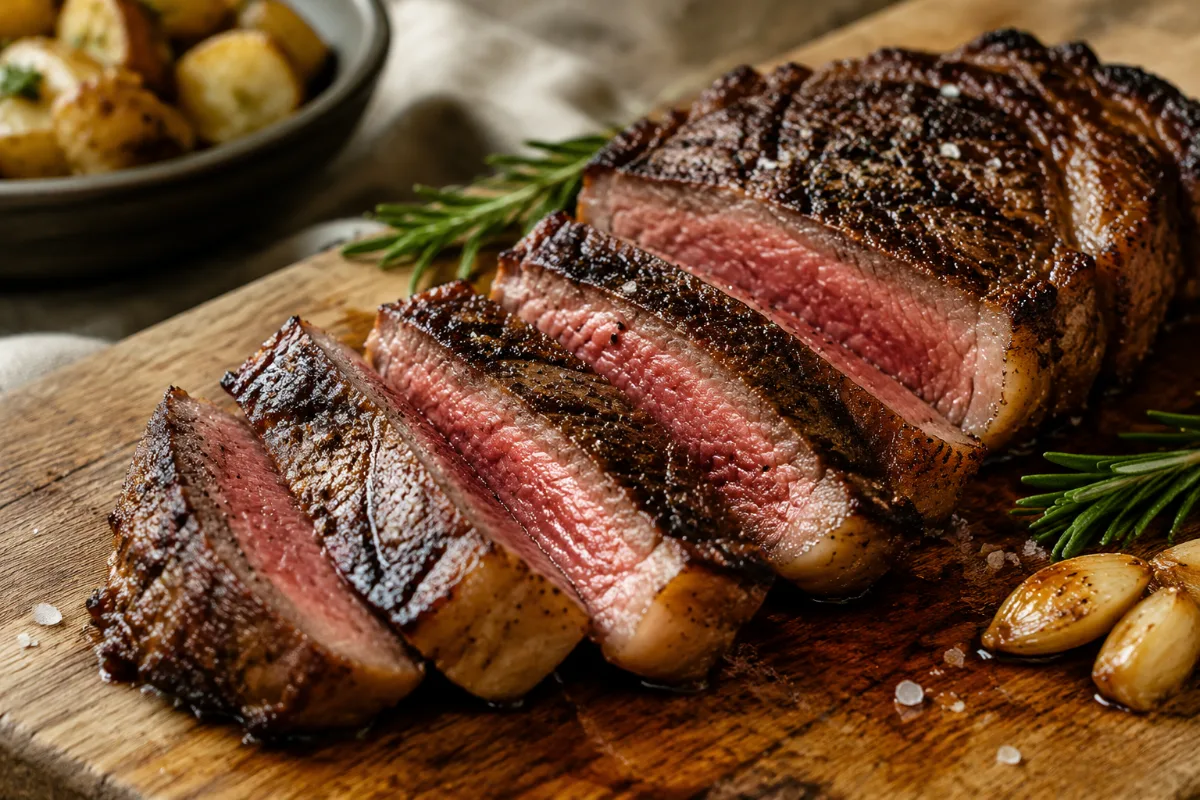
Pull the steak onto a board or warm plate and let it rest before cutting. Five minutes for a normal steak, closer to ten for a thick one. Resting lets the juices, which the heat has driven toward the center, redistribute through the meat, so they stay on the plate instead of flooding out the moment you slice. The internal temperature also climbs a few degrees off the heat, which is why you pull it early.
While the steak rests, do not waste what is left in the pan. Those browned bits stuck to the surface are the fond, and they are packed with flavor. Pour off excess fat, set the pan over medium heat, and add a splash of liquid: wine, stock, or even water. As it bubbles, scrape the fond loose with a wooden spoon. Let it reduce for a minute, swirl in a small pat of butter, and you have a quick pan sauce that most home cooks skip entirely. Spoon it over the sliced steak.
Cut against the grain when you slice, meaning across the direction the muscle fibers run rather than along them. Shorter fibers chew more tenderly, so the same steak eats better with a good cut than a careless one. Rest, slice against the grain, and finish with that pan sauce, and a simple weeknight steak turns into something worth serving to guests.
Thick steaks: sear plus oven finish
A hard sear alone works for steaks up to about an inch and a quarter. Go thicker, and searing long enough to cook the center will overdo the crust. The fix is to split the job between the stove and the oven.
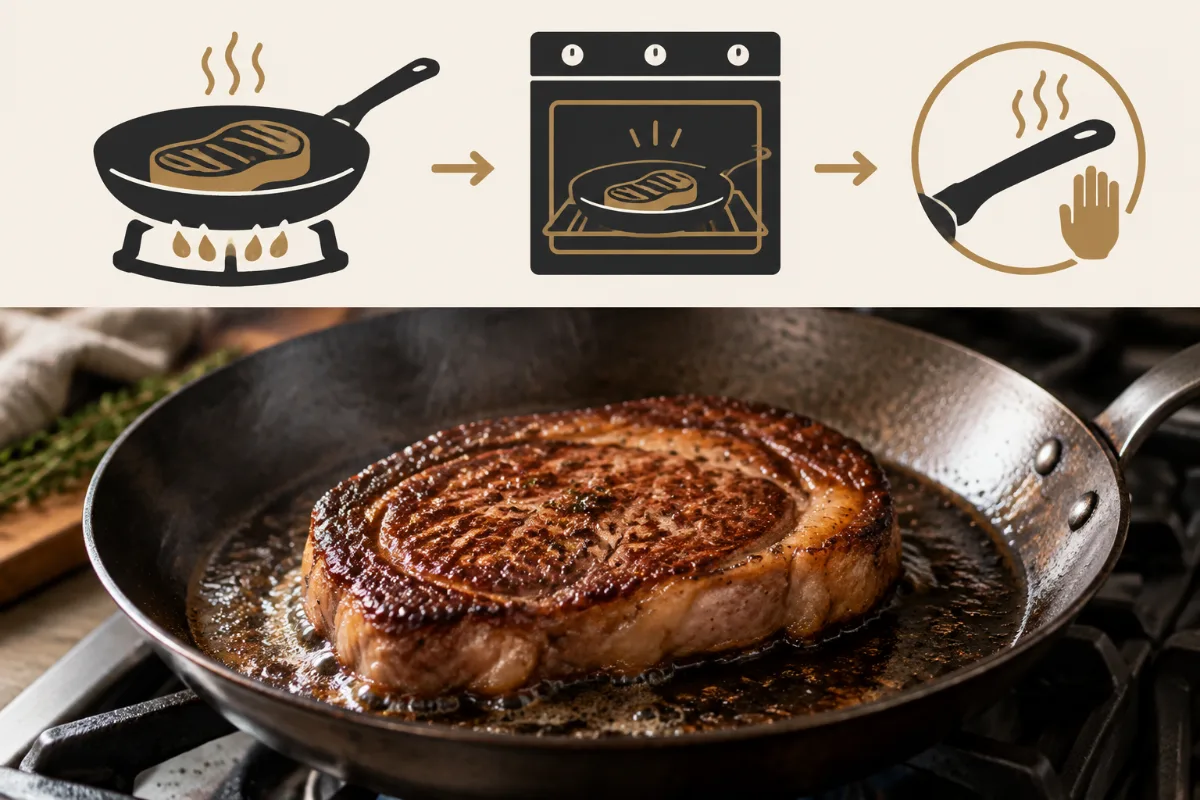
For anything over about an inch and a half, sear the outside first to build the crust, then transfer the whole pan to a hot oven, around 200°C (verify), to bring the center up to temperature gently and evenly. Carbon steel goes straight from burner to oven with no plastic parts to worry about, which makes this move easy. Pull the pan when the internal temperature is a few degrees shy of your target, then rest as usual.
Some cooks prefer the reverse order for very thick cuts: warm the steak through in a low oven first, then sear it hot and fast at the end for the crust. This is the reverse sear, and it has two advantages for a thick steak. The gentle warm-up cooks the interior evenly edge to edge, so you avoid the gray band of overdone meat under the crust, and it dries the surface further, which makes the final sear crackle. Because carbon steel handles both the low oven and the blazing final sear, one pan does the whole job.
Either way, the principle is the same. Use direct high heat for the crust and gentle ambient heat for the interior. Match the approach to the cut: a hard stovetop sear for thin steaks, sear-then-oven for medium-thick ones, and a reverse sear for the thick, showpiece cuts.
Cleaning the pan after a hard sear
Clean the pan while it is still warm, not scorching. Pour off any fat, then deglaze with a little hot water and scrape the stuck bits loose with a wooden spoon or a soft brush. That lifts most of the residue in seconds. Wipe it dry with a cloth, set it back on low heat for a minute to drive off any remaining moisture, then rub in a very thin film of oil while it is warm. That light re-oiling protects the seasoning and readies the pan for next time. A hard sear does not hurt a carbon steel pan; it feeds the seasoning.
Sear timing by thickness and doneness
Use these as starting points, then confirm with a thermometer. Stoves, steaks, and pans all vary, so treat the minutes as a guide and the temperature as the truth.
| Thickness | Rare 52°C | Medium 57°C | Method |
|---|---|---|---|
| 1 in / 2.5 cm | 2 + 2 min | 3 + 2 min | Sear both sides |
| 1.5 in / 4 cm | 3 + 3 min | 3 + 3 min + rest | Sear then baste |
| 2 in / 5 cm | Sear all sides | Sear + oven 200°C | Sear then finish in oven |
Frequently asked questions
Is carbon steel good for searing steak?
How long do you sear a steak in carbon steel?
When do you add butter?
Do you oil the pan or the steak?
Why is my steak not getting a crust?
Putting it all together
Searing steak in carbon steel comes down to heat and patience. Dry the meat, get the pan hot enough to just smoke, and leave the steak alone long enough to build its crust. Baste with butter at the end, rest before slicing, and turn the fond into a quick sauce. Do that and you get a steakhouse crust on your own stove.
For choosing the right pan, see our guide to the best pan for steak. If you are still learning the basics, how to use a carbon steel pan covers preheating and everyday technique, and whether carbon steel is oven safe matters for finishing thick cuts. When you are done, how to clean a carbon steel pan keeps the seasoning strong.