How Many Times Should You Season a Carbon Steel Pan?
By the Carbon Steel Pan test team · Last updated September 2026
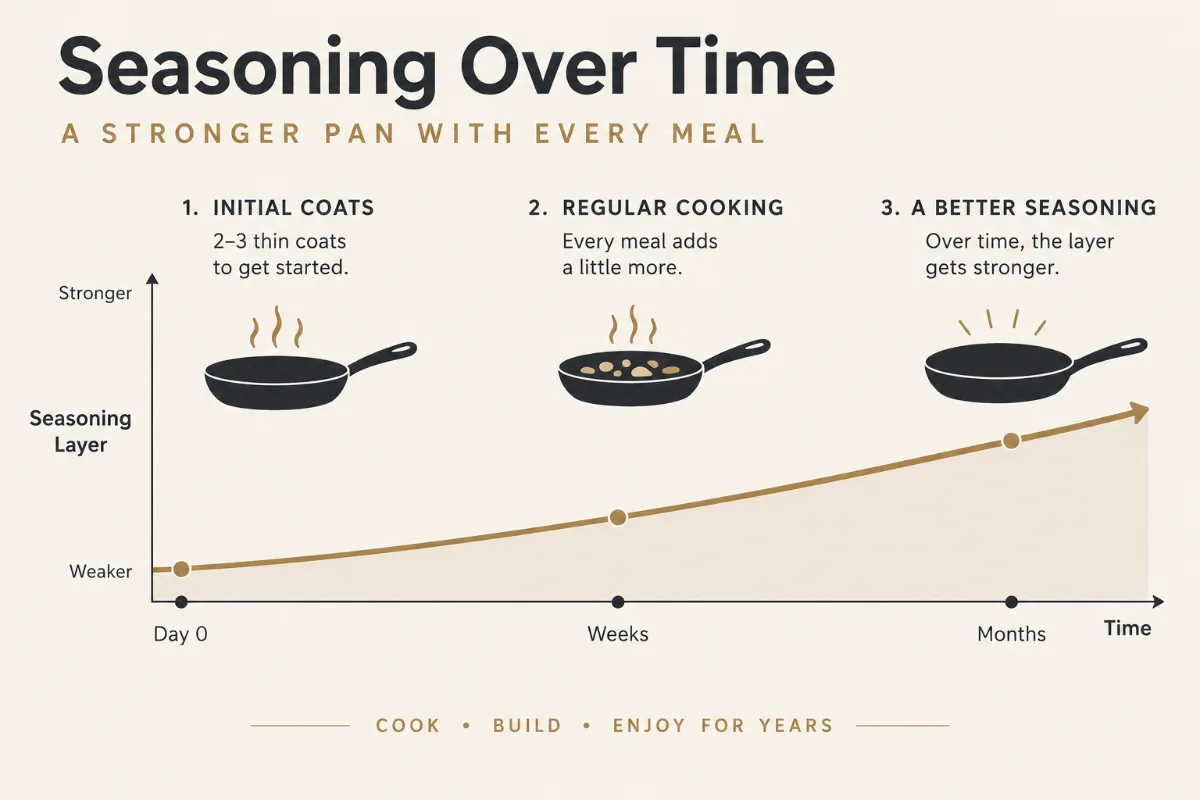
Season a new carbon steel pan two to three times before you cook in it, using very thin coats of oil. After that, stop formally seasoning it. Everyday cooking, especially with fatty foods, builds the surface for you over the following weeks. Re-season only if the pan wears, rusts, or food starts to stick.
That short answer trips up a lot of new owners, because seasoning sounds like a chore you repeat forever. It is not. The initial coats set a base, and your cooking finishes the job. Below is the reasoning behind the number, how to lay down a clean coat, and the signs that tell you the pan is ready.
The short answer, in plain terms
Two to three thin coats create a working base layer. Fewer than that and the surface can feel patchy on the first cook. More than that, applied all at once, tends to build too fast and flake later. So the useful range is small and forgiving.
Think of those first coats as a primer, not the finished paint. They give food something to release from on day one. The real, deep, glassy surface that carbon steel is famous for comes later, and it comes from heat and fat during normal cooking. You do not earn it by stacking coat after coat in a single afternoon.
Why two to three initial coats work best
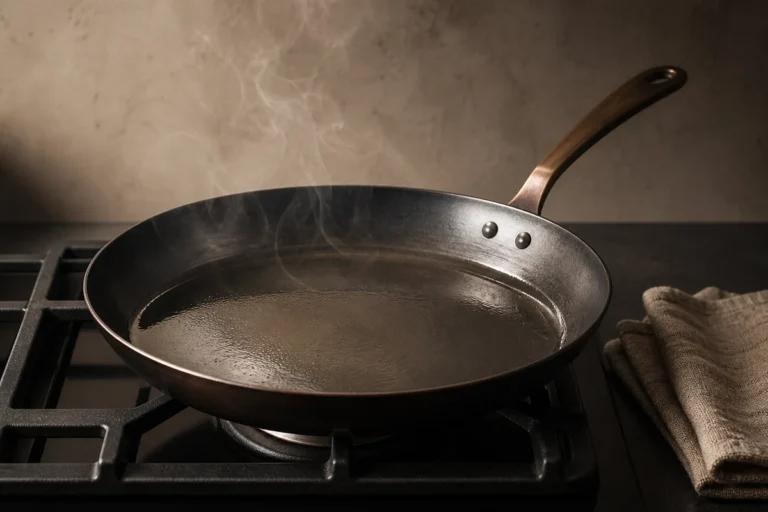
A seasoning coat is a micro-thin film of oil that you heat until it hardens onto the metal. This hardening is called polymerization, and it only bonds well when the layer is very thin. A thick smear cannot cure all the way through. The top skins over while the oil underneath stays soft, and that soft layer is what later peels off in dark flakes.
Two or three thin passes give you enough bonded film to protect the raw steel and start releasing food, without the risk that comes from piling it on. Each coat also fills the low points in the metal a little more, so the surface reads as more even after the third pass than after the first.
America’s Test Kitchen and de Buyer both frame initial seasoning as a base you build on, not a finished coating. The point of the exercise is a thin, hard, uniform starting layer. Chase that, and stop.
There is one more reason the number stays low. Carbon steel is not delicate. Once the base is down, the pan is fully usable, and using it is the most reliable way to improve it. Extra coats past three add effort without adding much you cannot get from a week of cooking.
The count also depends on what you started with. A bare pan from de Buyer or Mauviel arrives coated in a protective wax or oil that you scrub off, leaving raw steel that wants those two or three coats. A pre-seasoned pan, like a Lodge, ships with a factory layer already baked on. You can often add just one thin coat, or none, and go straight to cooking. In both cases the target is the same: a thin, bonded base, however you reach it.
Cooking builds the rest of the seasoning
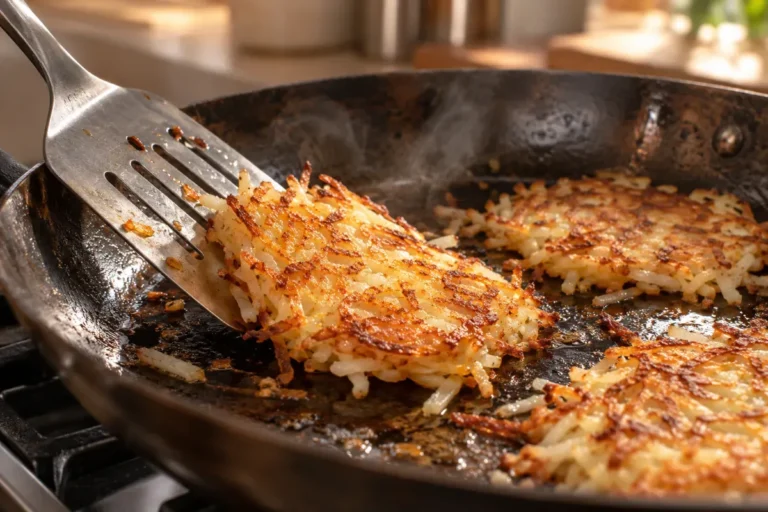
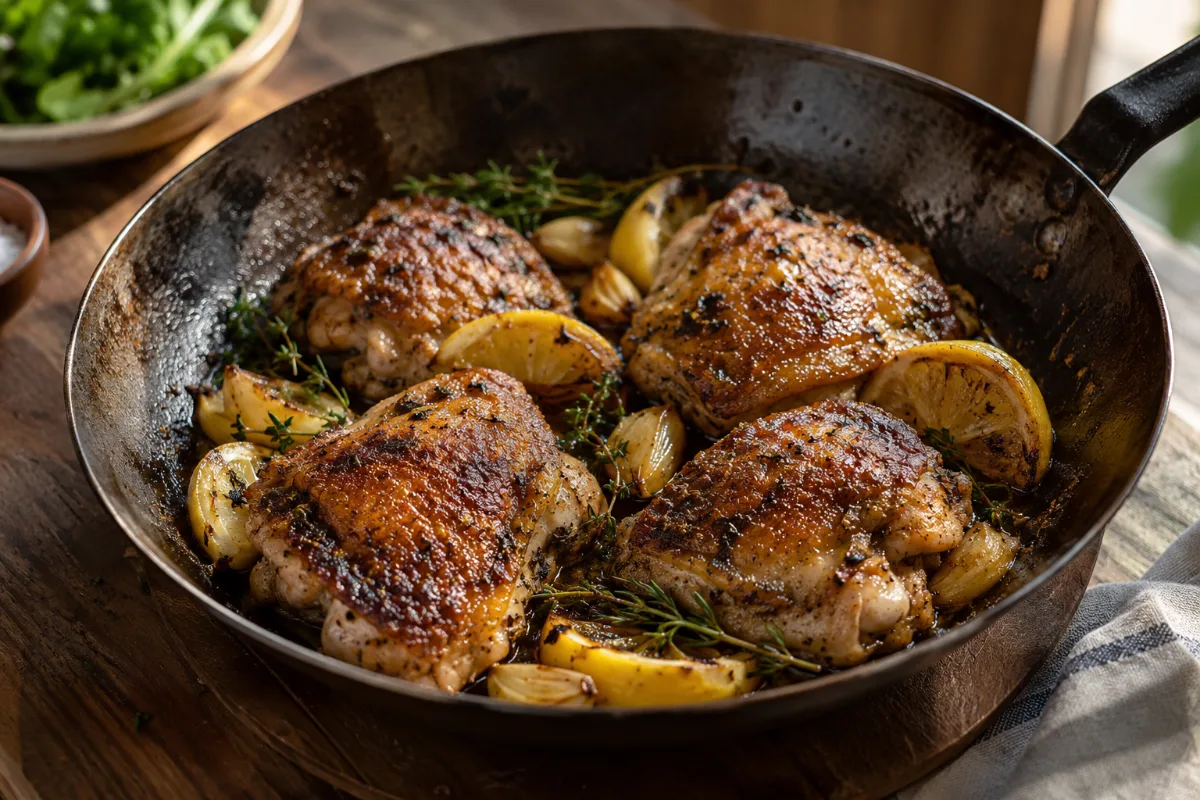
Here is the part that saves you time. After those first coats, your stove does the work. Every time you sear bacon, crisp potatoes in oil, or fry chicken thighs skin-side down, a trace of fat bonds to the surface under the heat. Layer by layer, cook by cook, the pan darkens and gets slicker.
This is why a pan that looked plain and tan after seasoning looks bronze after two weeks and near-black after a month of regular use. You did not re-season it. You just cooked. Fatty foods do this fastest, which is why we tell new owners to lean into bacon, sausages, and oil-rich stir-fries early on.
Serious Eats has long made the same point about cast iron and carbon steel: the surface that actually cooks well is built through use, not through a single seasoning marathon. Trust the process. A pan you cook in three or four times a week needs almost no formal attention.
That also means a young pan improves on its own schedule. You do not have to track coats or keep a log. Cook, wipe clean, dry, and store. The seasoning takes care of itself.
A rough timeline helps set expectations. In the first week, a well-seasoned base handles fatty foods but may still grab eggs. By two to three weeks of regular cooking, the surface has darkened noticeably and releases most foods. By a month or so, many pans are slick enough for eggs and delicate fish. None of this needs a seasoning session. It needs meals.
When to re-season later
Formal seasoning comes back into play only when something goes wrong, and even then it is a spot fix more often than a full redo. Watch for three triggers.
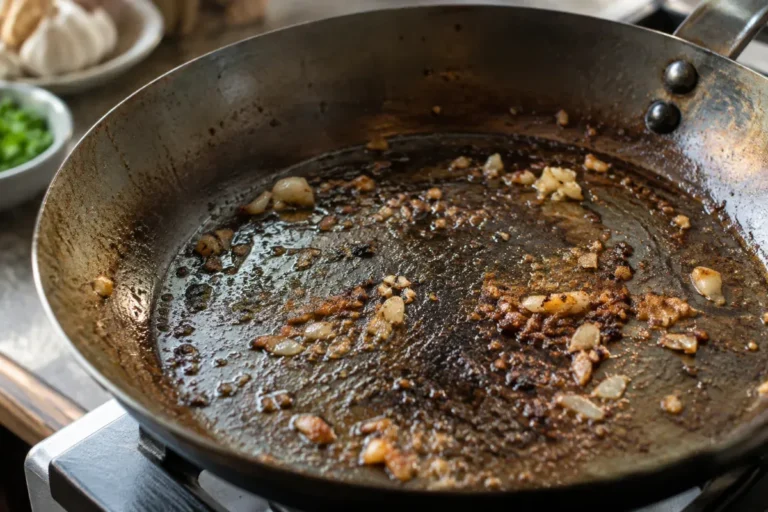
The first is bare metal. If part of the surface turns dull grey or shiny where the dark film has worn thin, food will grab there. Wipe on a thin coat of oil, heat that area until it stops smoking, and let it cool. One or two passes on the worn spot usually restore it.
The second is rust. Orange spots mean moisture reached raw steel, often from air-drying or a damp cupboard. Scrub the rust off, dry the pan over heat, and lay down a fresh thin coat where the seasoning is gone. Our guide on how to reseason a carbon steel pan walks through both cases in detail.
The third is new sticking. If a pan that used to release eggs suddenly grips, the seasoning has likely worn or lifted in patches. A quick re-season, plus a few fatty cooks, brings it back.
None of these is a calendar event. There is no monthly seasoning routine for a pan in regular use. You act only when the surface tells you to.
It is just as important to know when not to re-season. A darkening pan, a rainbow sheen, or a slightly uneven color are not problems. They are seasoning at work, and stripping a pan back to bare metal to “start fresh” throws away the surface you built. Reach for the oil only when you see bare steel, rust, or fresh sticking, not because the pan looks different from the day you bought it.
How to do a thin seasoning coat, step by step
The technique matters more than the count, because a good coat is what keeps the number low. Follow these steps for each of your two or three initial passes.
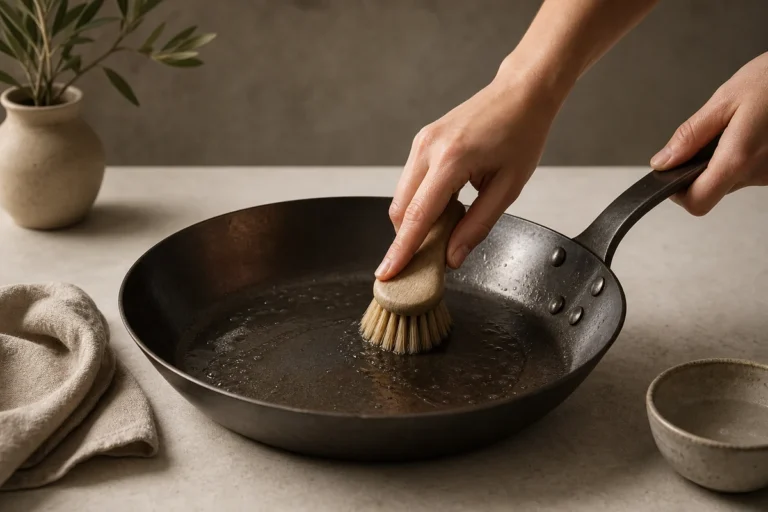
- Wash and fully dry the new pan to remove the factory wax or oil, then heat it on the stove until any last water evaporates.
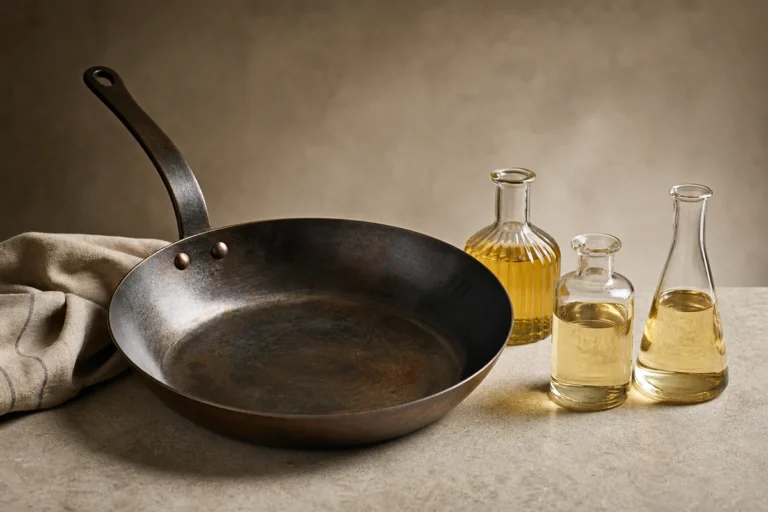
- Add a few drops of a high-smoke-point oil such as grapeseed, canola, or refined avocado. Our best oil for seasoning carbon steel guide compares the common choices.
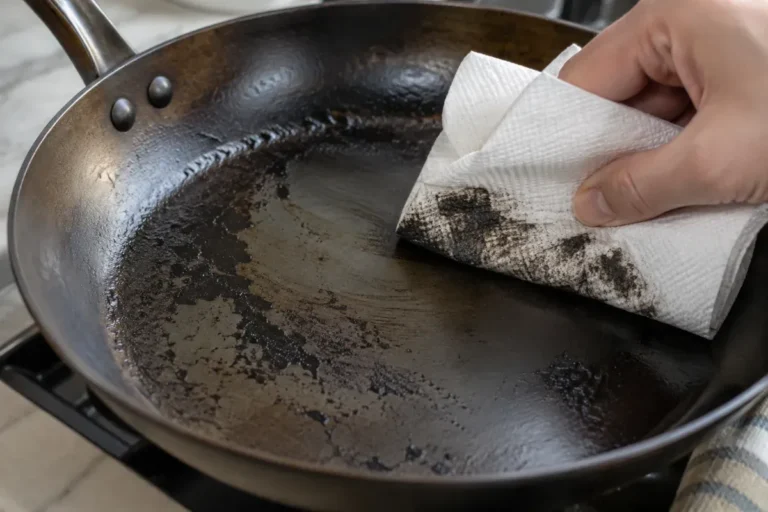
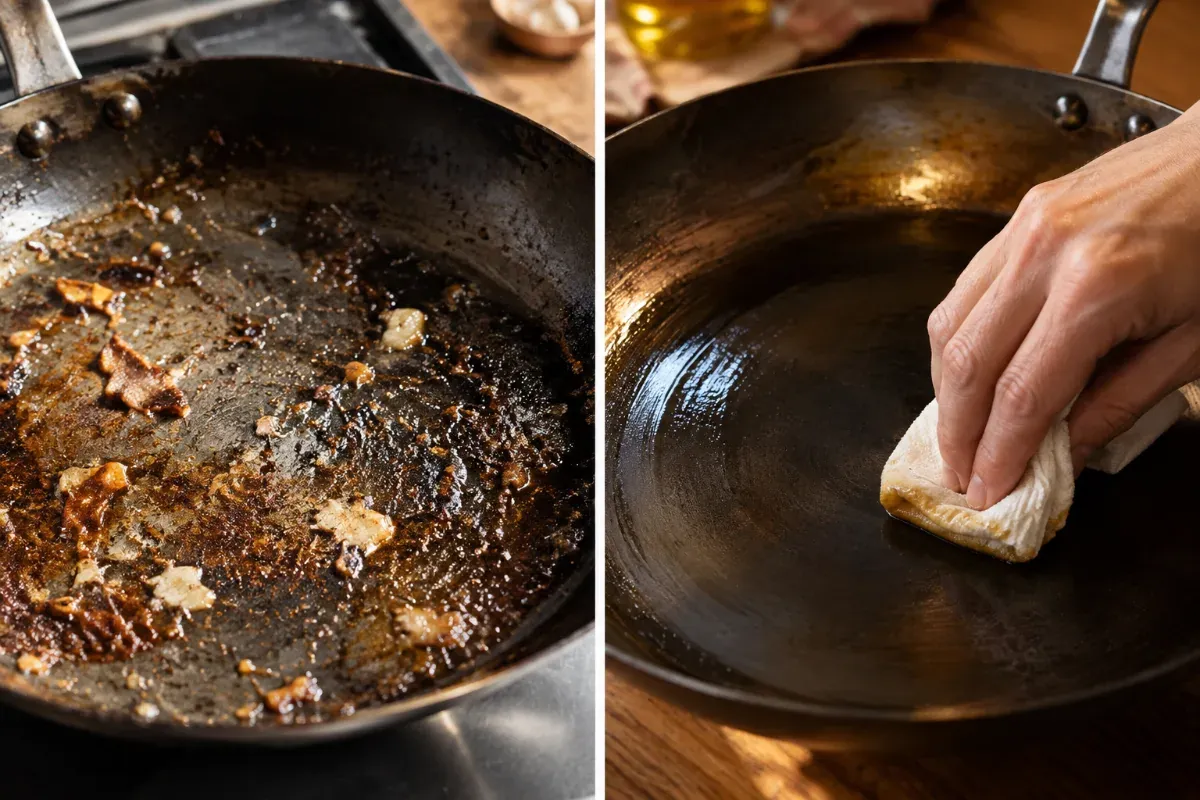
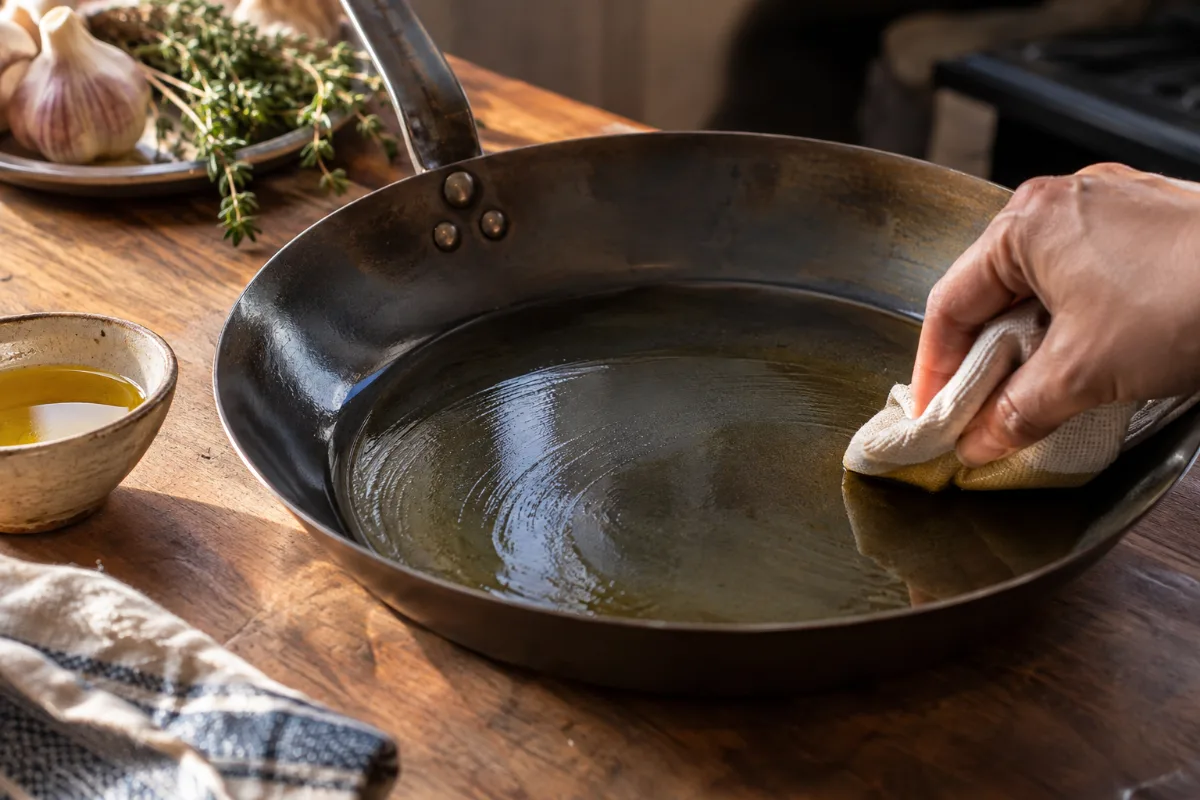
- Rub the oil over the whole cooking surface with a paper towel, then wipe it back off. The pan should look almost dry, with only a faint sheen. This is the step people skip, and it is the most important one.
- Heat the pan until it smokes lightly, then hold it there for a minute or two so the film hardens. On most stoves this takes medium-high heat.
- Turn off the heat and let the pan cool. That is one coat.
Repeat two or three times total. If you want the full walkthrough with oven and stovetop methods, see how to season a carbon steel pan.
Quick answer: Our tested guide to times to season carbon steel keeps it simple: master the technique, keep the surface seasoned, and match your heat to the food. The full method, the key facts and the mistakes to avoid are all below.
Times To Season Carbon Steel: What Our Tests Found
Our team put times to season carbon steel through repeated real cooking sessions to see what actually works. Below we break down the method, the facts that matter, and the common mistakes so you get reliable results the first time.
The wipe-back in step three is what separates a coat that bonds from one that flakes. Almost all the oil should come off on the towel. What stays behind is the layer that cures.
You can run the same two or three coats in the oven instead of on the stove. Wipe the pan with oil, buff it nearly dry, set it upside down in a 450F to 500F oven for an hour, then let it cool before the next pass. The oven method heats the whole pan evenly, including the walls, which is handy if you cook up the sides often. The count does not change. Two or three thin, well-wiped coats is the goal whether the heat comes from a burner or an oven.
Signs you have seasoned enough
You will know the base is set by how the pan looks and behaves. After two or three good coats, the surface shifts from raw silver to a warm tan or light bronze, sometimes with a faint mottled pattern. That color change is bonded oil, and it means the primer is down.
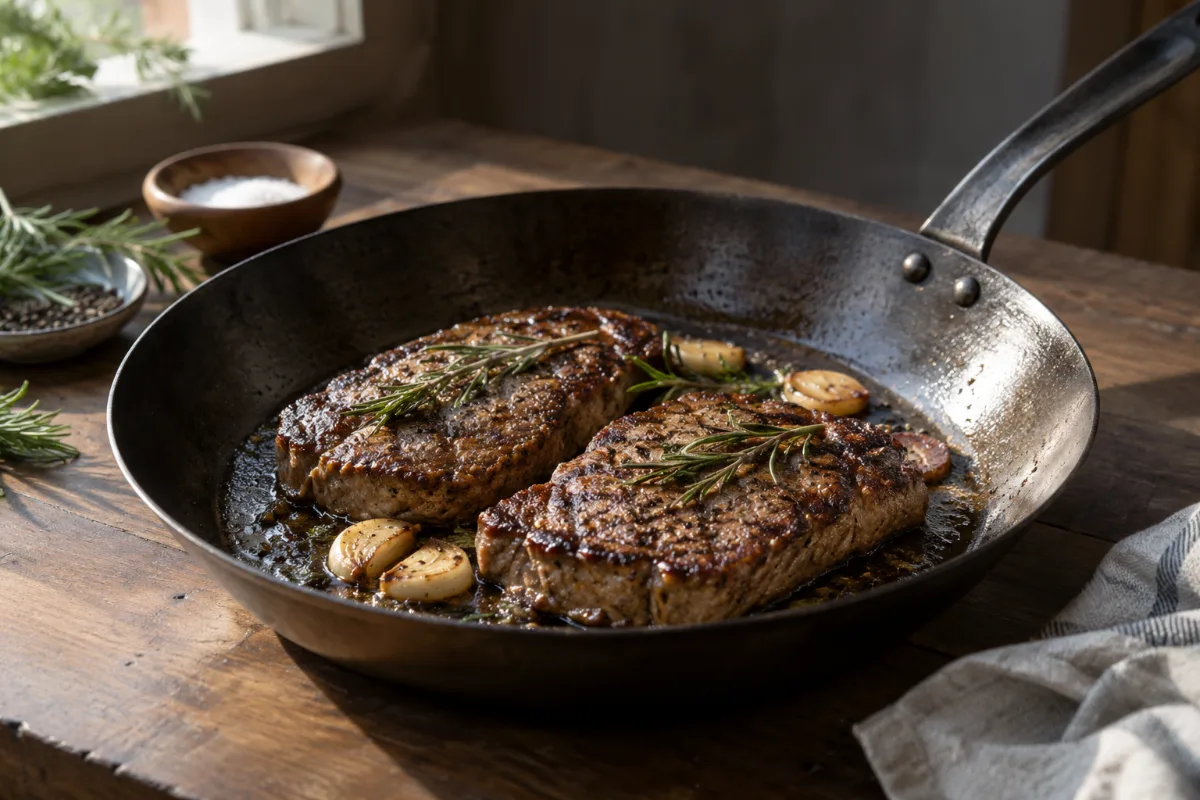
The behavior test is simpler. Cook something fatty, like a strip of bacon or a few slices of potato in oil. If it browns and lifts without welding itself to the metal, the pan is ready for daily use. From there, keep cooking and let the seasoning deepen.
Do not wait for a mirror-black surface before you start cooking. That look is the result of months of use, not a starting condition. Chasing it with endless coats only risks flaking.
Seasoning frequency at a glance
The whole plan fits in one small table.
| Stage | How many times | Why |
|---|---|---|
| New pan | 2 to 3 thin coats | Build a base layer before first use |
| First weeks | Cook, do not formally season | Everyday cooking builds seasoning naturally |
| Ongoing | Only as needed | Top up worn, rusted, or sticking spots |
Read down the middle column and the message is clear. Season a little at the start, cook a lot, and step in later only when the surface asks for help.
Frequently asked questions
How many times should you season a carbon steel pan?
How many coats of seasoning does a new pan need?
Do I need to keep seasoning my pan?
How do I know I have seasoned enough?
Can you over-season a carbon steel pan?
The takeaway
The number to remember is two to three, and the habit to remember is cooking. Lay down a few thin, well-wiped coats, then put the pan to work. Fatty foods will deepen the surface week by week, and you will not need to think about formal seasoning again until a worn spot, a rust patch, or new sticking calls for a quick touch-up.
If you are setting up a brand-new pan, start with the full method in how to season a carbon steel pan, then keep it going with normal use. When the day comes that the surface needs help, how to reseason a carbon steel pan has the fix.