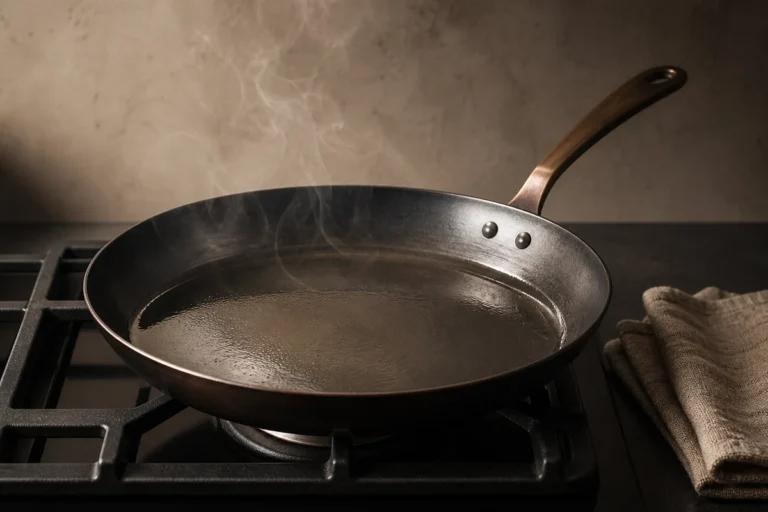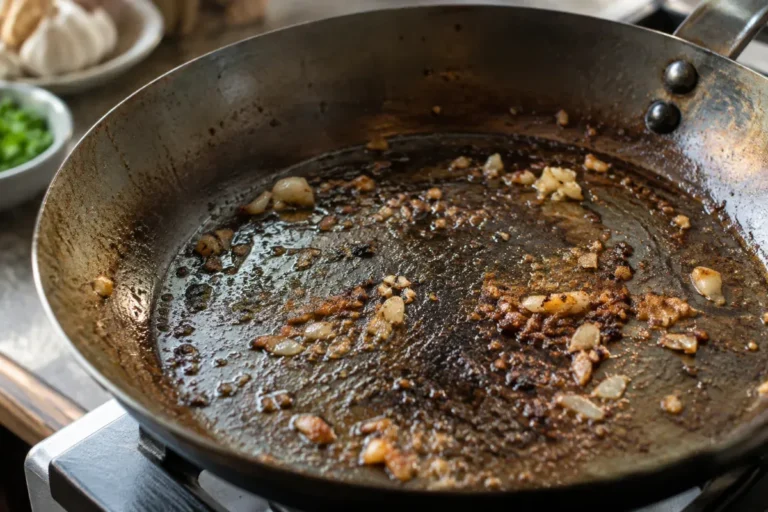
How to Season a Carbon Steel Wok (Step by Step)
By the Carbon Steel Pan test team · Last updated September 2026
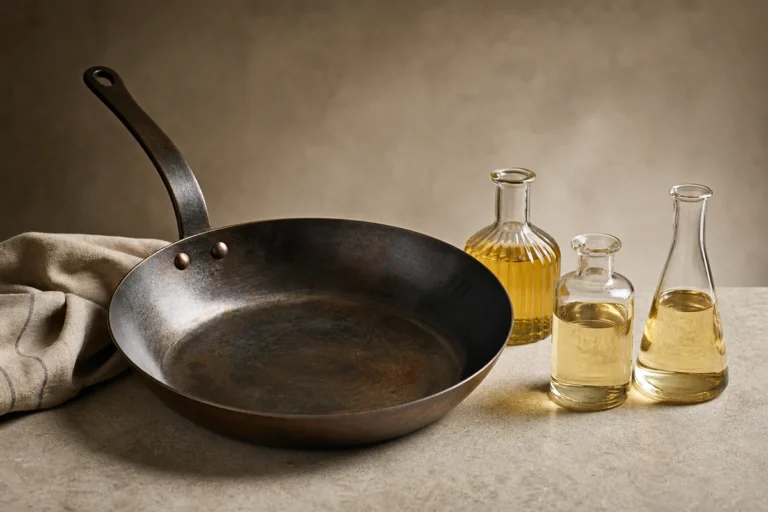
To season a carbon steel wok, scrub off the factory coating, dry it, then heat it on the stovetop until the metal turns blue-yellow, rotating it so the whole surface heats. Rub a thin layer of high-smoke-point oil over the hot metal, heat until it smokes and stops, and repeat two or three times. The sloped sides need rotating because one burner cannot heat them evenly. Plan about thirty to forty-five minutes for the whole process.
Before you start: wash off the coating
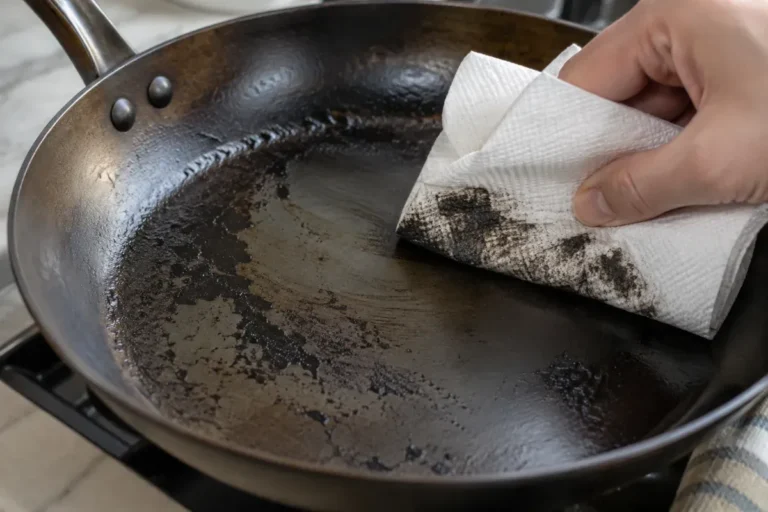
Learning how to season a wok starts before any oil touches the metal. A new wok does not arrive ready to cook. Makers coat the bare steel with a protective film, often oil or wax, so it survives shipping without rusting. That film has to come off before you season, or your seasoning will bond to the coating instead of the metal, then flake off later. Skipping this step is the most common reason a first seasoning fails.
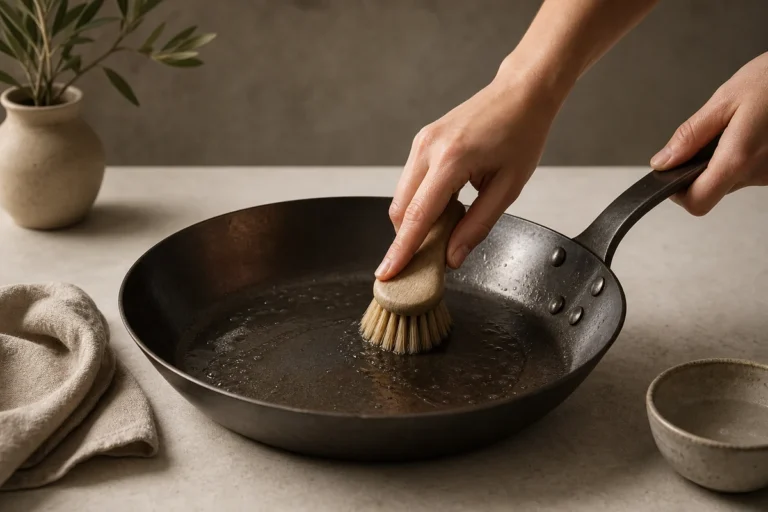
Scrub the whole wok, inside and out, with hot water, dish soap, and a non-scratch pad. Use a bit of elbow grease. You want to feel bare, clean metal with no slick residue. This is the one time you will ever use soap this aggressively on the wok.
Dry it right away with a towel. Bare steel flash-rusts fast once the coating is gone, so do not let it sit wet. Now you are ready to heat it.
One exception: if you bought a blued or pre-seasoned wok, check the maker’s card. Some still want a wash to remove shipping oil, but they do not need the heavy scrub that a raw steel wok gets. When in doubt, a gentle wash and dry is safe, and you skip straight to building oil layers rather than bluing from scratch.
Quick answer: Our tested guide to how to season a wok keeps it simple: master the technique, keep the surface seasoned, and match your heat to the food. The full method, the key facts and the mistakes to avoid are all below.
How To Season A Wok: What Our Tests Found
Our team put how to season a wok through repeated real cooking sessions to see what actually works. Below we break down the method, the facts that matter, and the common mistakes so you get reliable results the first time.
Why wok seasoning is different from a flat pan
Seasoning a flat skillet is simple because the whole cooking surface sits flat on the burner and heats at once. A wok is a different shape, and that changes the method.
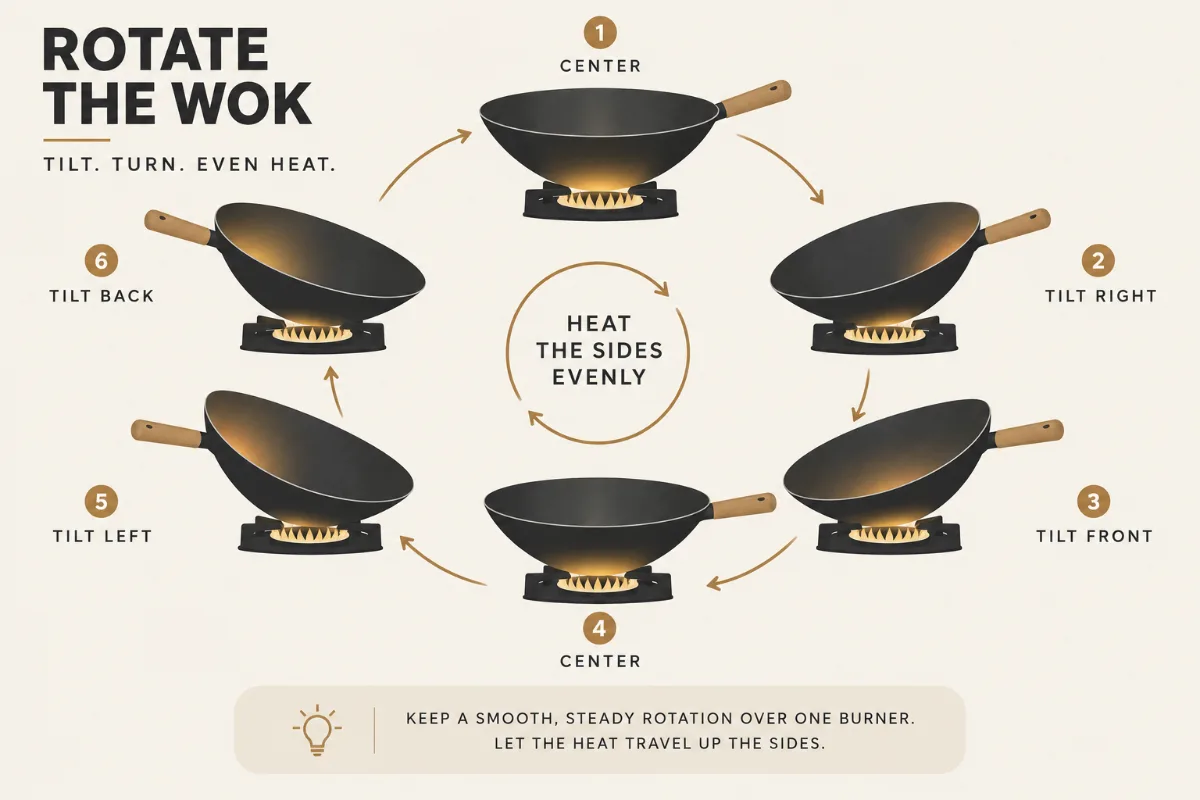
A wok has a small base and tall, sloped sides. One burner heats only the bottom directly. If you just crank the heat and walk away, the base will blue and season while the sides stay raw and rust-prone. That gives you a patchy, uneven wok.
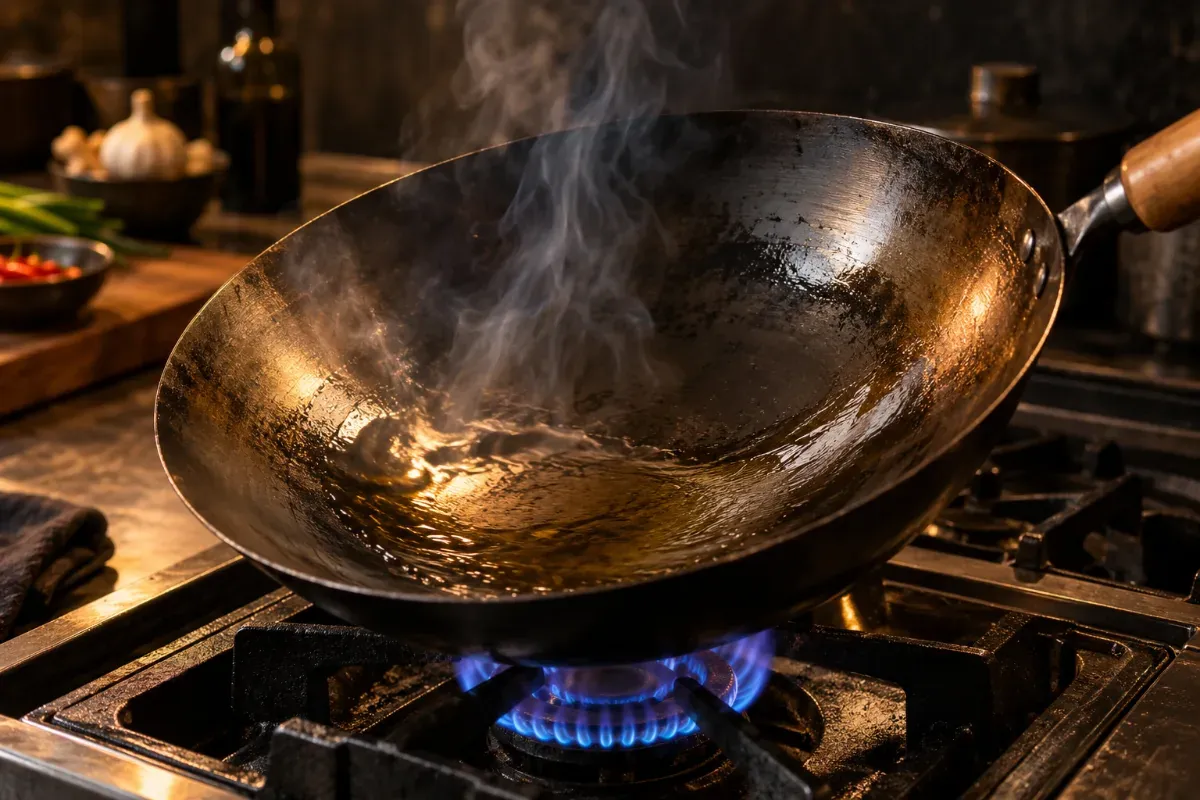
The fix is rotation. You tilt and turn the wok over the flame so every part of the surface passes through the heat. Think of it as steering the hot zone around the bowl. This rotating step is the heart of wok seasoning and the main thing that separates it from seasoning a pan. A gas burner makes it easiest, but you can manage on electric with patience and careful tilting.
The other difference is the oven question. You can season a flat skillet in the oven, where even heat blankets the whole surface at once. A wok is trickier. Most home ovens are not hot enough to blue steel the way a burner can, and the wok’s size can make it awkward to fit. For a first seasoning, the stovetop bluing method below gives better results and more control than the oven. Save the oven for touch-ups on a flat pan.
Grace Young and other wok authorities teach this stovetop rotation method for the same reason: it matches the tool to the heat. A wok was designed to sit over a focused flame, and seasoning it that way plays to its shape.
The stovetop bluing method (steps)
This is the core routine. Work in a well-ventilated kitchen with the fan on, because seasoning smokes. Have a heat-proof glove, a folded towel or tongs, and a wad of paper towel ready.
Heat and rotate until it blues
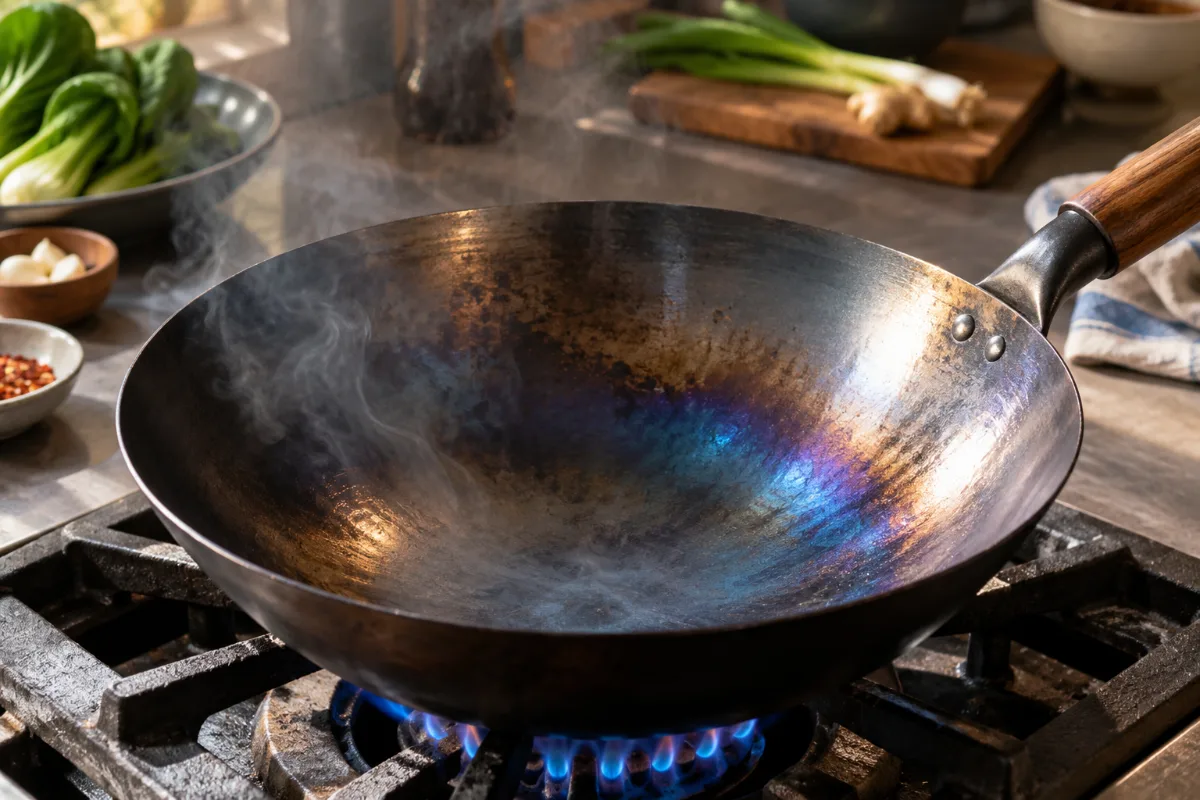
Set the dry, clean wok over medium-high heat. Let the base heat until the steel changes color, moving through gold to a blue-gray tint. Then tilt and rotate the wok so the flame reaches the sides. Keep turning it, section by section, until the whole surface has blued as evenly as you can manage. This can take several minutes and the color will look dramatic. That is correct. Work the rim and the upper walls too, not just the bowl, because those areas cook food and rust just like the base.
Apply a thin oil layer
Take the wok off the heat for a moment. Fold a paper towel, hold it with tongs, dip it in a high-smoke-point oil, and wipe a very thin layer over the entire hot interior. The surface should look barely damp, not wet or pooled. Too much oil is the top cause of sticky, uneven seasoning, so wipe off any excess. Good choices are grapeseed, canola, rice bran, or another neutral oil with a high smoke point. Skip olive oil and butter, which burn and smoke too early to cure into a clean layer.
Heat, smoke, repeat
Return the wok to the heat, rotating again so the oil cures across the whole surface. It will smoke. Keep heating until the smoke slows and stops, which means the oil has polymerized into a hard layer. Let it cool slightly, then repeat the thin-oil-and-heat cycle two or three more times. Each pass darkens the surface a little more. Resist the urge to rush by using more oil. Thin layers bond hard and last; thick layers stay tacky and peel, which sets you back rather than ahead.
Cool and wipe
After your final round, turn off the heat and let the wok cool until you can handle it. Wipe it with a clean paper towel. You should have a darkened, faintly slick surface. It will not be jet black yet, and that is fine. Real depth comes with cooking.
If the surface feels sticky or tacky after cooling, you used too much oil on one of the passes. Do not panic. Heat the wok again until the tacky spot smokes and cures hard, or wipe it back and add one more very thin coat. Tackiness is the single most common seasoning hiccup, and it is easy to correct.
What the colors mean
The color show during seasoning worries first-timers, so here is what you are seeing. As clean carbon steel heats, it passes through a sequence: straw or gold, then blue-yellow, then blue-gray, and eventually a darker brown-black as seasoning builds over the oxide.
The blue-yellow tint is your cue that the metal is hot enough to take oil. It comes from a thin oxide layer forming on the surface, the same idea behind factory-blued pans. It is not damage and it is not dirt.
Uneven color across the bowl is normal too, especially on a home burner. The base often looks different from the sides. As you cook over the coming weeks, the whole surface darkens and evens out. Do not strip a wok just because the color is patchy. Judge it by whether food releases, not by how uniform it looks.
The colors come from the same physics that gives blued steel its name. As the metal heats, a thin oxide layer forms, and its thickness bends light into different tints, from straw to blue. It is a temperature signal you can read by eye. Straw means warm, blue means hot enough to oil. Kenji Lopez-Alt and Serious Eats have covered how this oxide layer and the later oil polymerization work together to build a durable seasoning.
First cook: aromatics to build seasoning
There is a traditional final step worth doing: fry aromatics to deepen the fresh seasoning. Chinese cooks have done this for generations, and it works.
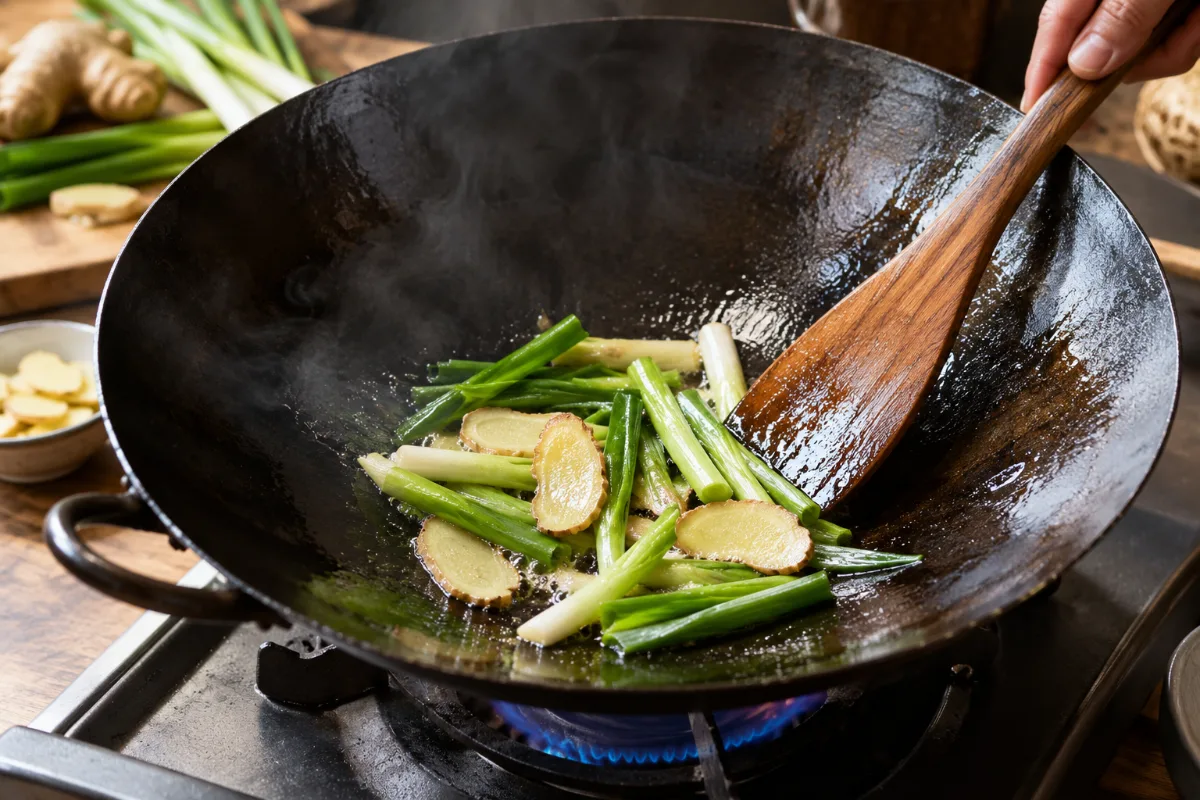
Get the seasoned wok hot, add a spoon of oil, and stir-fry a big handful of sliced ginger, whole garlic cloves, and cut scallions. Press them against the sides and keep everything moving for several minutes, so the aromatics sweep oil across the entire surface. The wok will smell wonderful and the seasoning will darken.
This step is not magic, but it puts a good working layer on the pan and gets oil into every part of the bowl that plain seasoning rounds may have missed. Toss the aromatics when you are done, wipe the wok, and it is ready to cook. Some cooks add a handful of garlic chives or a splash of oil-fried scallion for extra effect, but ginger, garlic, and scallion are the classic trio and plenty on their own.
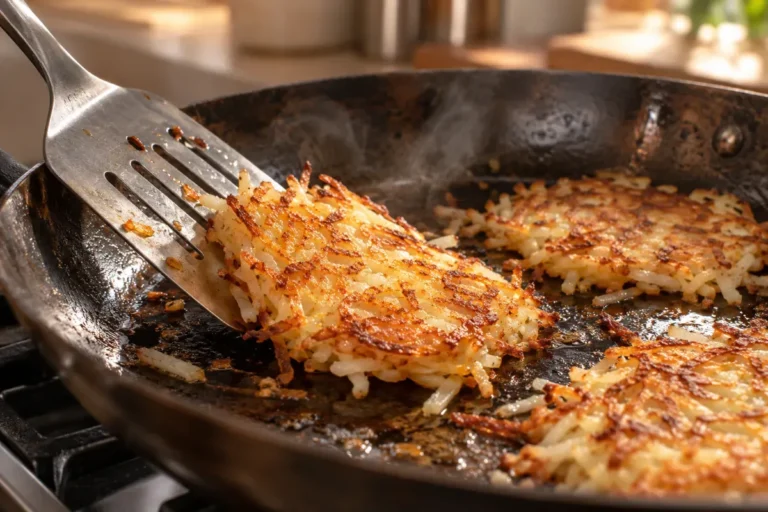
Do not expect a finished, jet-black surface after this. A new wok is a work in progress. The real seasoning builds over your first ten or twenty stir-fries, as high heat and oil layer up into a slick, dark patina. Your job now is just to give it a sound starting layer and then cook on it often.
Keeping a wok seasoned
Seasoning is not one and done. It builds and gets better every time you cook with oil over heat, which is most stir-fries. Your job is to protect it between cooks.
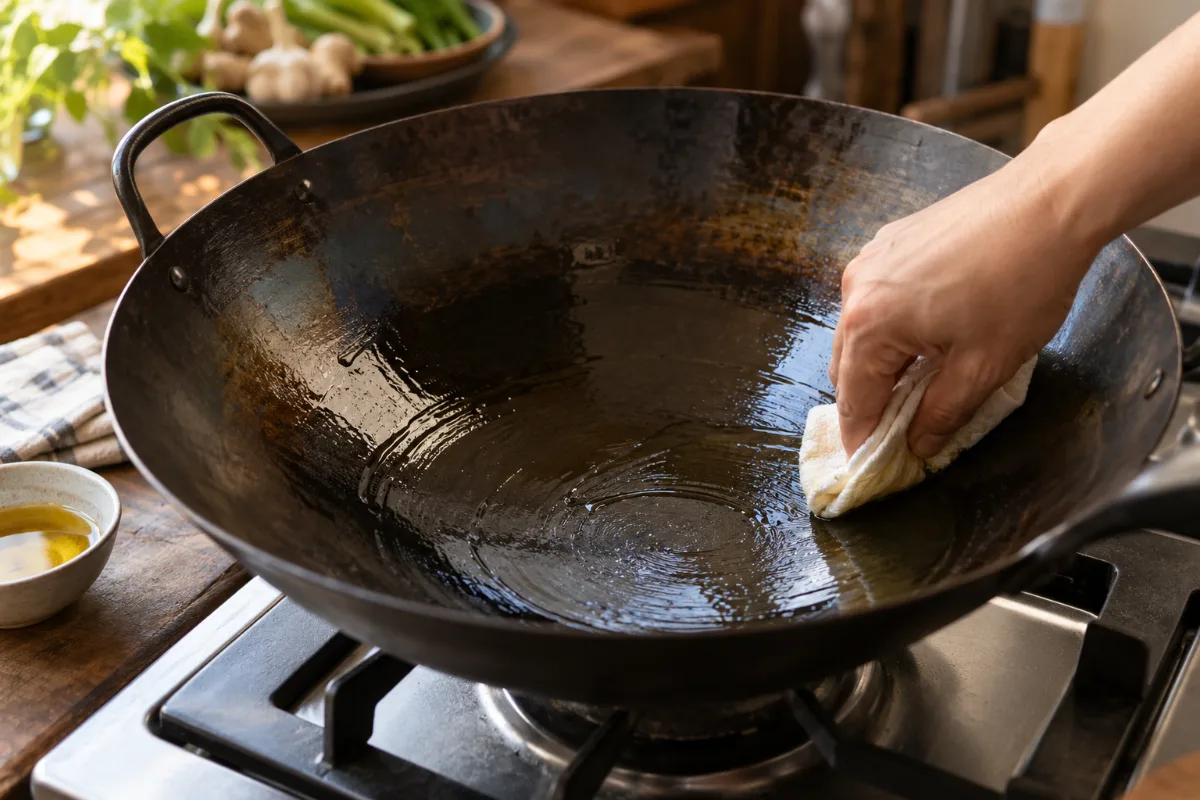
After cooking, clean the wok while it is still warm with hot water and a soft brush, using little or no soap on cured seasoning. Then dry it fully. Set it back over the burner for a minute so every drop of water evaporates, because a thin wok rusts fast if left damp. Finish with a wipe of a thin oil layer while it is still warm.
Store it dry and with air around it. A wok sealed away damp, or stacked with a wet lid on top, traps moisture and invites rust. Hang it by the handle hole if you can, or leave it out on the stove where air circulates.
Use the wok often. A wok that cooks regularly stays seasoned and slick with almost no effort. One that sits in a cupboard for months is the one that rusts or turns sticky. If a little rust ever appears, it is not a disaster. Scrub the spot back to clean metal, dry it, wipe on oil, and heat it to re-blue that patch. The renewable nature of seasoning is exactly why a carbon steel wok can last a lifetime.
The full cleaning routine lives in our how to clean a wok guide, and if you want the flat-pan method for comparison, see how to season a carbon steel pan. When your wok is ready, put it to work with our how to get wok hei guide.
| Step | What to do | Cue |
|---|---|---|
| Prep | Scrub off factory coating | Bare, clean metal |
| Blue | Heat and rotate | Blue-yellow tint |
| Oil | Thin layer, high-smoke oil | Surface looks dry |
| Cure | Heat until smoke stops | Darkening surface |
| First cook | Stir-fry aromatics | Deeper seasoning |