
How to Season a Carbon Steel Pan: Step by Step
As an Amazon Associate I earn from qualifying purchases, at no extra cost to you.
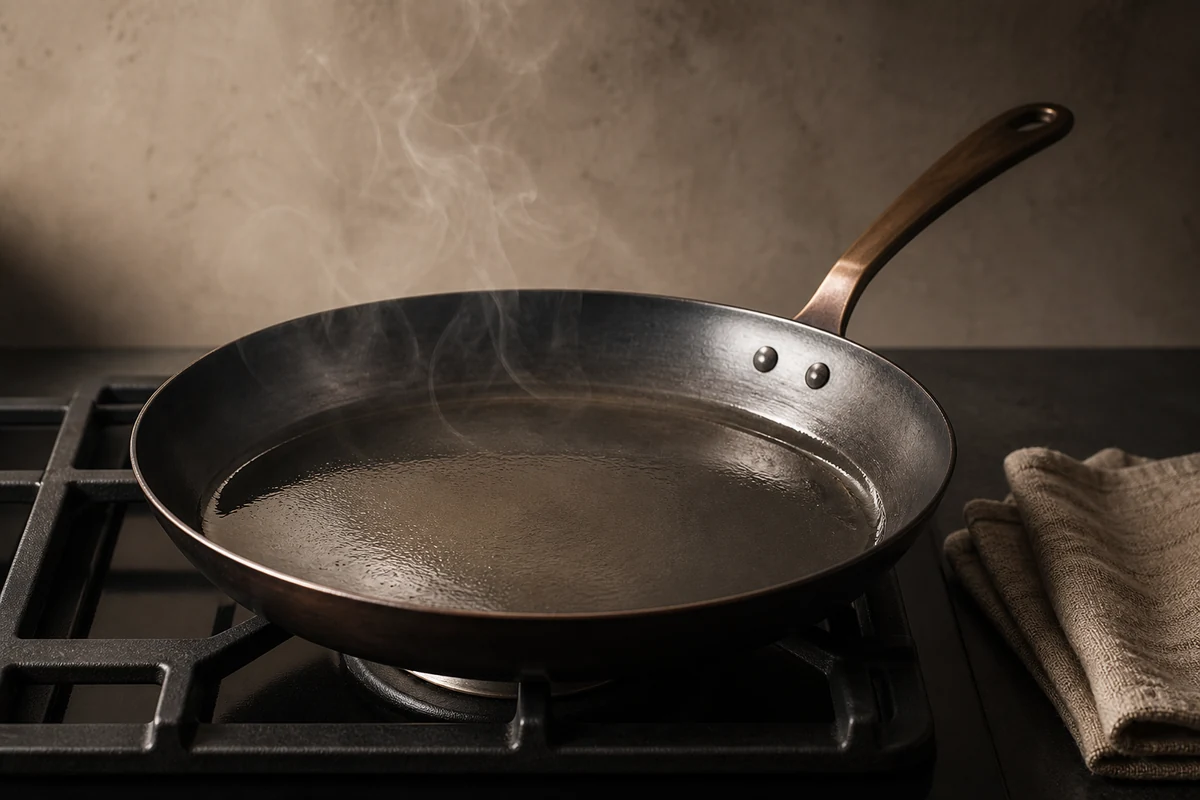
To season a carbon steel pan, scrub off the factory coating, heat the pan dry, rub in a very thin layer of neutral high smoke point oil, wipe it back until the surface looks dry, then heat until it smokes steadily for two minutes. Repeat three or four times. Thin layers are the whole trick.
What seasoning actually is
Seasoning is not a coat of oil sitting on metal. If that is what you have, something went wrong.
When oil passes its smoke point, the molecules break apart and link to each other and to the steel. Chemists call this polymerisation. The result is a hard, dark film fused to the pan. It behaves more like a thin plastic than like grease.
That film does two jobs. It stops food touching bare iron, which is what stops sticking. And it keeps moisture off iron, which is what stops rust.
Understanding this explains every rule that follows. Thin layers polymerise all the way through. Thick layers set on the outside and stay gummy underneath, which is why they peel.
Step one: strip the factory coating
Every new pan ships with a protective layer so it does not rust in transit. Usually lacquer. On Matfer Bourgeat pans, a thick beeswax.
Remove all of it. Hot water, dish soap, and a scouring pad or steel wool. Scrub harder than feels reasonable.
If you skip this, your seasoning bonds to wax rather than to steel, and the pan will stick forever no matter how many rounds you do.
Pans sold as pre-seasoned only need a wash. Do not scrub those back.
Step two: choose an oil
You want a neutral oil with a high smoke point. Beyond that the differences are smaller than the internet suggests.
| Oil | Approx. smoke point | Verdict |
|---|---|---|
| Grapeseed | 420°F | Excellent all-rounder |
| Canola | 400°F | Cheap, works well |
| Sunflower | 440°F | Excellent |
| Avocado | 520°F | Highest, most expensive |
| Flaxseed | 225°F | Hard layer, but prone to flaking |
| Olive oil | 375°F | Usable, not ideal |
| Butter | 300°F | No. Milk solids burn |
Flaxseed deserves a note because it gets recommended constantly. It produces a very hard layer, and that layer is brittle. It flakes more readily than a softer seasoning from grapeseed or canola. We would not start with it.
Manufacturers use ordinary oils too. Lodge seasons with vegetable oil on the 10 inch and soybean oil on the 12 inch. Made In uses shea nut and coconut.
Step three: the stovetop method
Faster than the oven and easier to judge. This is what we would use.
- Dry the pan on the hob. Medium heat, two minutes, until no moisture remains.
- Add about half a teaspoon of oil. Less than feels right.
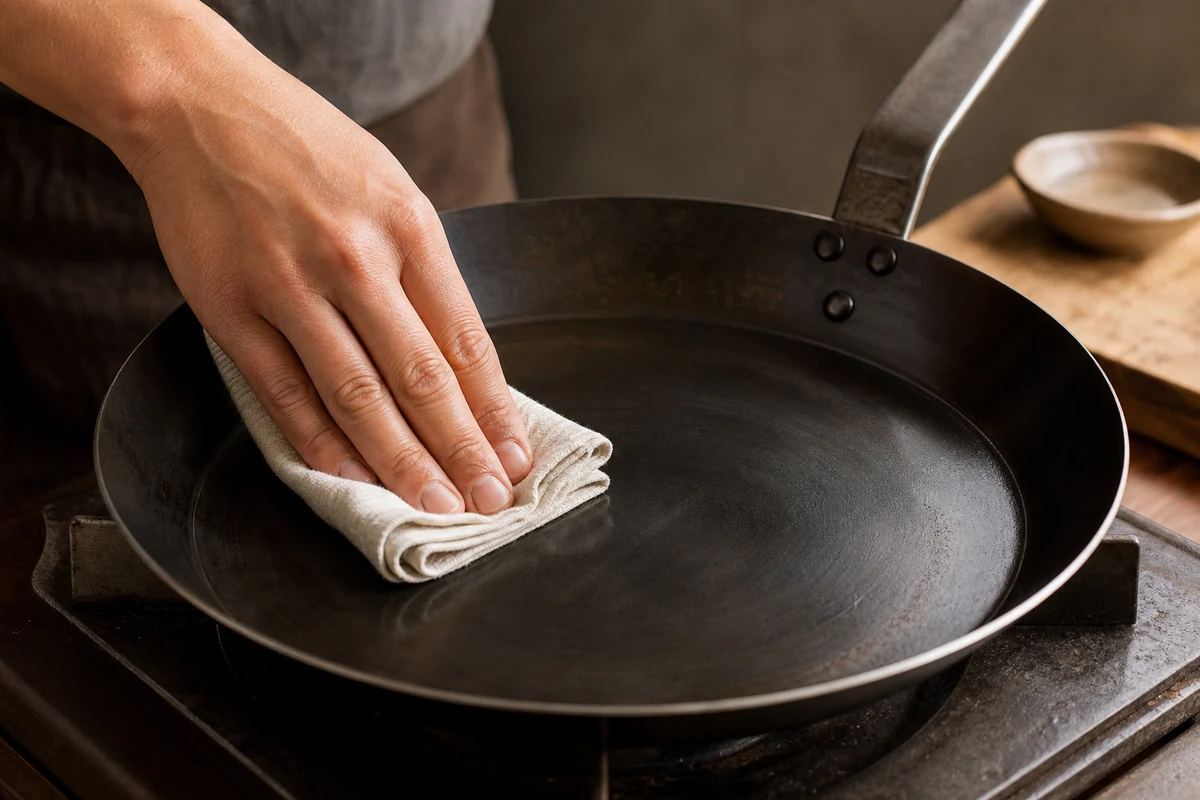
- Spread it with a paper towel, covering the base, the walls and the outside.
- Wipe it off again. This is the step people skip. Keep wiping until the surface looks almost dry. No shine, no pooling, no beads.
- Heat until it smokes. Medium to medium-high. Wait for steady smoke, not a wisp.
- Hold it there two minutes. The smoke is the oil polymerising.
- Cool, then repeat. Three or four rounds gives you a working base.
Open a window. This makes real smoke and it will find your alarm.
The pan changes colour as you go: silver, then gold, then brown, then black. That progression is the layer building.
The oven method
Slower, more even, and better if you want to season the whole pan including the outside in one go.
- Heat the oven to 425°F.
- Apply and wipe back the oil exactly as above.
- Put the pan in upside down, with foil on the rack below to catch drips.
- Bake for one hour.
- Turn the oven off and leave the pan inside to cool.
One limit: if your pan has a wooden handle, this method is out. Check before you commit.
How many rounds do you need?
Three or four to start. Then cook.
This is the part most guides underplay. Deliberate seasoning gives you a base. Actual cooking builds the rest, and it builds it better, because fat plus heat plus food is what a pan is for.
Cook bacon. Cook sausages. Shallow fry something. Every fatty cook adds a layer. After a few weeks the pan behaves differently and you will notice the day it happens.
What goes wrong
The surface is sticky or tacky
Too much oil, or it never reached its smoke point. Scrub the tacky layer back with coarse salt and oil, then redo it with less oil and more heat.
The seasoning is patchy
Normal, especially around the edges where the burner does not reach. It evens out with cooking. Do not chase it.
It flakes off in sheets
Layers built too thick, or flaxseed brittleness. Scrub the loose material away and rebuild thinner. You rarely need to strip the whole pan.
It looks blotchy and uneven
Cosmetic. A pan that looks like a used pan is a pan that is working.
More diagnosis in why is my carbon steel pan sticky.
What not to do
Do not use more oil to speed it up. It does the opposite.
Do not season with butter or olive oil. Both burn before polymerising properly.
Do not cook acidic food while the seasoning is young. Tomatoes and wine will undo the work.
Do not expect a pre-seasoned pan to be finished. Factory seasoning is one or two thin layers for transit protection. Treat it as a head start.
Do not strip the whole pan at the first problem. Almost every issue is fixable by scrubbing the bad patch and rebuilding locally.
How to tell seasoning is working
Beginners often cannot tell success from failure, so here are the signals in order.
During each round, the pan should smoke, then stop smoking as the oil finishes converting. When it cools, the surface should look darker than before and feel dry and smooth, not sticky. If it feels tacky, you used too much oil. If it looks exactly the same as before, it did not get hot enough.
Across rounds, the colour deepens from silver toward bronze, then brown, then black. Patchiness is normal and evens out with cooking. A mirror-smooth uniform black is not the goal and not realistic early on.
Seasoning by pan type
| Pan | Before first use | Note |
|---|---|---|
| Raw, unseasoned (e.g. Matfer) | Strip beeswax, then 3 to 4 rounds | Scrub hard first or nothing bonds |
| Pre-seasoned (Lodge, Merten & Storck) | Wash, then cook fatty food | Do not strip; build on the layer |
| Pre-seasoned premium (Made In) | Wash, then build layers | Factory layer can wear early; add your own |
| Nitrided (Armorbear) | Wash, then 2 to 3 rounds | More rust-resistant, still needs seasoning |
| Wok | Season the whole bowl, not just the base | Rotate over the flame to cover the sides |
The Made In case is worth a note. Its own published reviews report the factory layer peeling for some buyers within weeks, so treat pre-seasoning as a head start and build over it. Detail in how to season a Made In pan.
Seasoning a wok
A wok changes the method because you have to season the sloping sides, not just the base, and a domestic burner only heats the bottom.
Apply the thin oil film across the whole interior as usual. Then, over medium-high heat, tilt and rotate the wok continuously so each section of the sides passes through the hot zone above the flame. You are chasing the heat around the bowl. It takes patience, and the sides will always be lighter than the base at first. Regular stir-frying evens it out. Our wok guide covers the pans.
Maintaining seasoning over time
Once built, seasoning is self-sustaining if you cook the right things. Every fatty cook adds a micro-layer. The routine that keeps it healthy is simple: clean while warm, dry on the hob, wipe on a thin film of oil.
What degrades it is predictable. Acid dissolves it, sugar tears it off, abrasive scrubbing removes it, and long soaking softens it. Avoid those and you may never do a deliberate seasoning round again. When you do cook something acidic, run a single round afterwards to restore what you lost, as covered in how to reseason.
Common seasoning mistakes
| Mistake | Result | Fix |
|---|---|---|
| Too much oil | Sticky, tacky surface | Scrub back, redo thinner |
| Not hot enough | Gummy film, no bonding | Heat until it smokes steadily |
| Skipped stripping | Nothing adheres | Scrub raw pan to bare metal |
| Flaxseed oil | Hard layer that flakes | Use grapeseed or canola |
| Seasoned then cooked tomatoes | Layer stripped immediately | Keep acid off a young pan |
Seasoning on different cooktops
The method above assumes a gas or electric coil burner. Other hobs change the details.
Induction heats only where coil meets steel, so the walls stay cold during a stovetop round. Season the base on the hob, then either accept lighter walls, they build with cooking, or run one oven round to cover them. Watch the power level: induction reaches smoke point startlingly fast, and scorching a round is easier here than anywhere.
Glass-top electric behaves like slow induction. Same approach, gentler ramp, and lift the pan rather than sliding it to protect the glass.
Outdoor burners and grills are the best seasoning tools most people own. All the smoke stays outside, and a grill burner will do in ten minutes what a kitchen hob does in thirty. If you own one, season there.
Fixing a botched round without starting over
Every botched seasoning falls into one of three states, and none needs a full strip.
Tacky anywhere: too much oil. Scrub the tacky area with salt and oil until it feels dry, then redo one thin round.
Brown and sticky in patches, hard elsewhere: uneven wiping. Scrub the sticky patches only, leave the hard areas alone, redo one round.
Scorched matte grey: the oil burned past polymerising, usually on induction. The layer is weak but harmless. Cook on it; the next layers bury it.
The instinct to strip everything and start again wastes an afternoon and throws away good layers. Local problems get local fixes.
How professionals season, and why you should not copy them
Restaurant kitchens season new pans by frying a batch of aromatics and salt in a deep pool of oil, tossing it, and calling the pan done. It works there because the pan will cook forty covers that night and build real seasoning by service end.
At home that method leaves a pool-seasoned pan that sees two meals a week, which is how you get gummy walls. The thin-wipe method exists because home pans need each layer to fully cure before the next cook. Different duty cycle, different technique. Copy the professionals’ cooking, not their shortcuts.
What you are seasoning
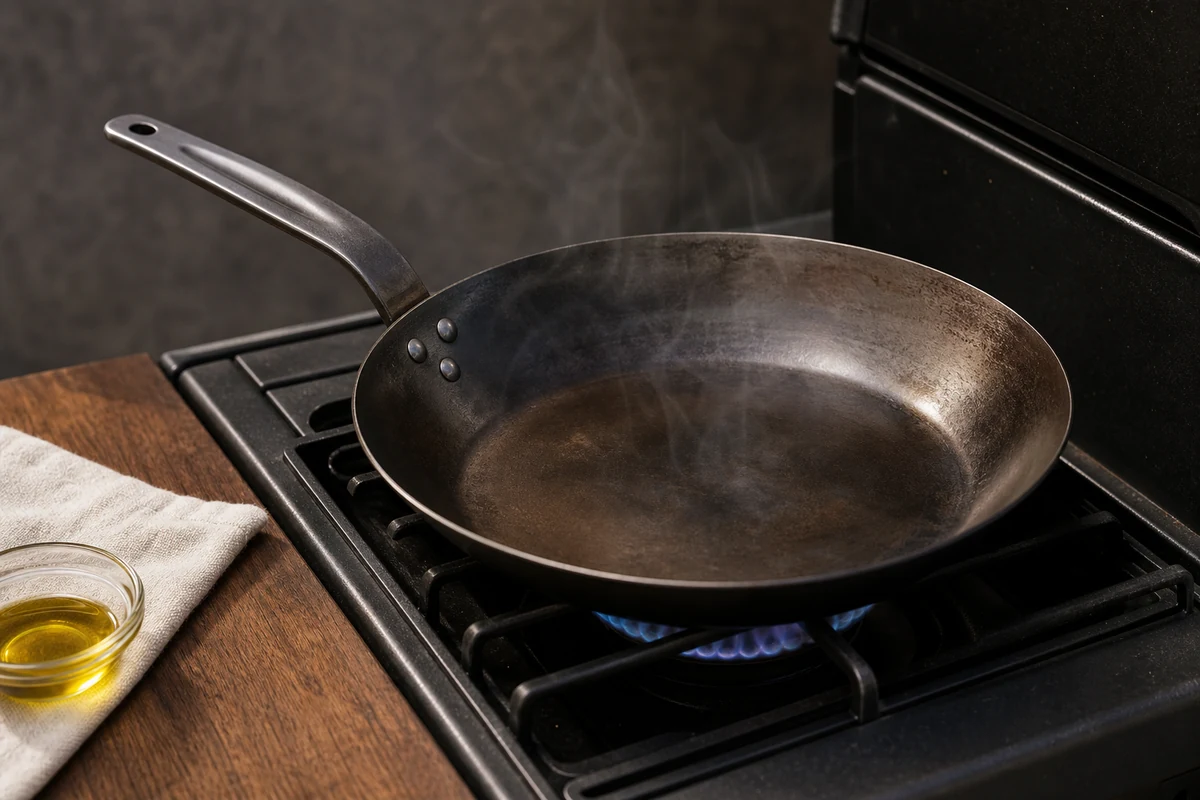
The method above works on any of them, but the starting point differs. Bare steel like the de Buyer MINERAL B Pro at $99.95 needs the protective coating removed first and then three or four proper coats. A factory-seasoned pan such as the Lodge 12 inch at $44.99 is usable immediately and just gets better. Nitrided pans like the Armorbear 10 inch at $26.99 need the least of all.
Frequently asked questions
How many times should you season a new carbon steel pan?
What is the best oil for seasoning carbon steel?
Why is my pan sticky after seasoning?
Can you season a carbon steel pan too much?
How long does seasoning take to build up?
Do you season the inside and outside of the pan?
Smoke points vary by refinement and brand. Figures are typical published values. Last checked 22 July 2026.